

|
|

Do It Yourself – An Inexpensive (Light) Hanger KitBy Jessica Timko (Jessy.)
I wanted to make an inexpensive light hanger kit for my pendants. There are commercial ones available, but the hobby is about having fun, right? Here’s how I made my light bars to hang the lights above my aquarium. Parts and ToolsTools used:
Shopping List
ConstructionTo make these light bars I needed them to hang a 14” light fixture 16” over a tank. (I chose to hang it slightly closer to the front of the tank.) 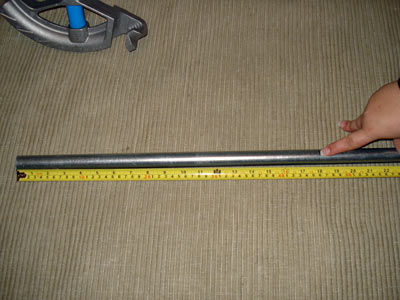
I measured 18" to start my first bend. That gives me 2" extra on each side of my fixture of dead space.
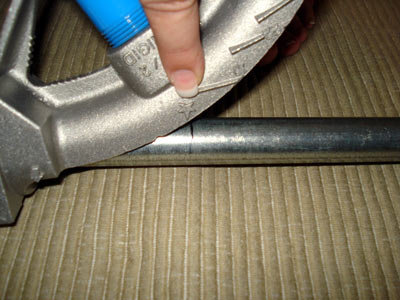
If you’ve never worked with a pipe bender before, you have to line up the little star with your line. 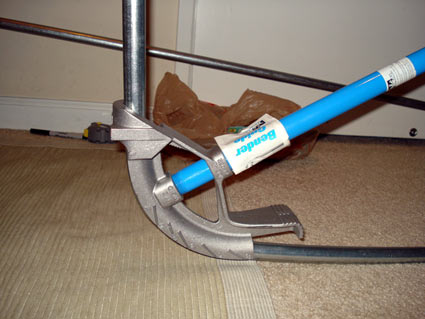
Bend your first 90 degree angle by stepping on the pedal and forcing it up. 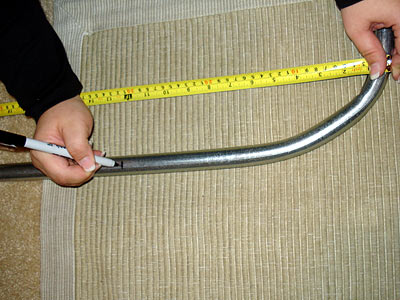 \ \
I needed my light bar to extend 15-16" out from the wall.. so I made my next mark 12" from the top of the perpendicular pipe. Bending with the 3/4" pipe bender adds about 4" extra to the finished bend. Thus a 12" mark becomes 16" finished product. 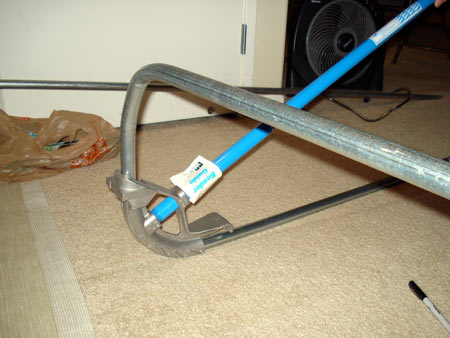
Bend your second 90 degree angle the same way as the first. 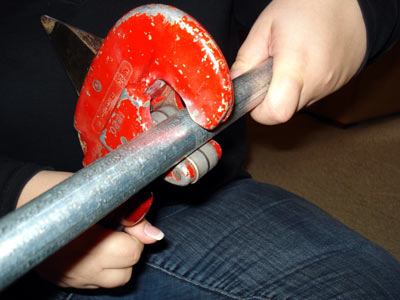
Cut the excess length off the foot of your pipe. I cut 7.5" off the end for my purposes. 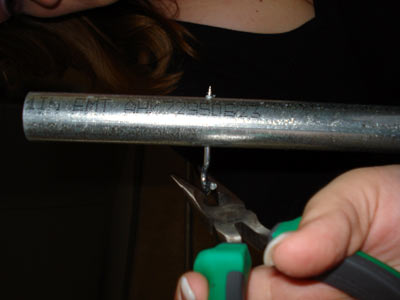
Drill holes straight through the pipe to screw in the hooks. 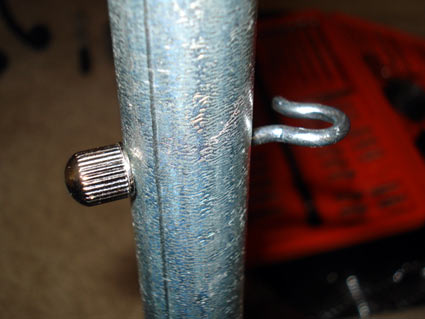
I finished mine off with a decorative nut, but any nut will do. 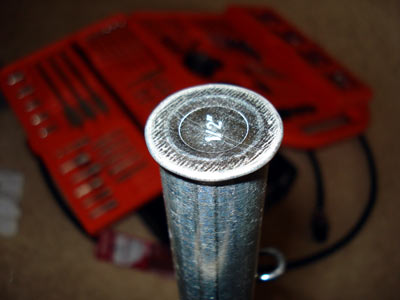
I went the extra step and capped the pipe for a finished look. 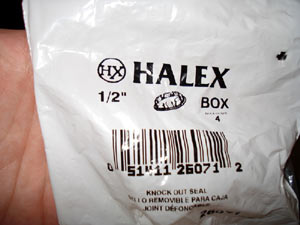
This is the bag for these caps; notice they are 1/2" to fit inside the 3/4" pipe. 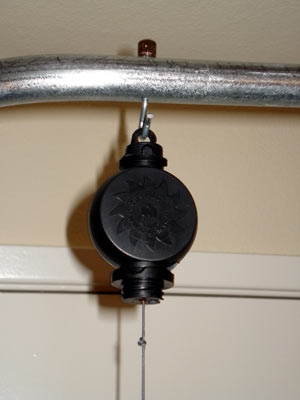
This is what the final close up of the hangers look like. 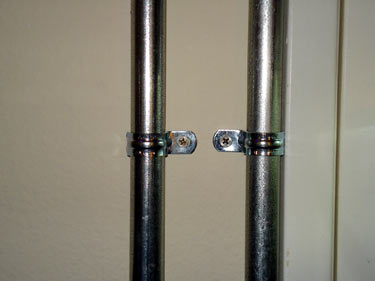
My pipes sit on the floor behind my tank because I couldn't access behind my stand to attach them to the stand (my first choice) so I attached them to the wall. 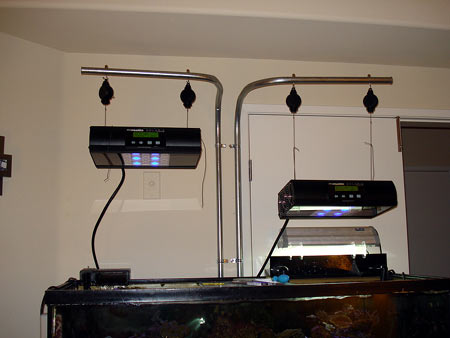
Final Product - it works! 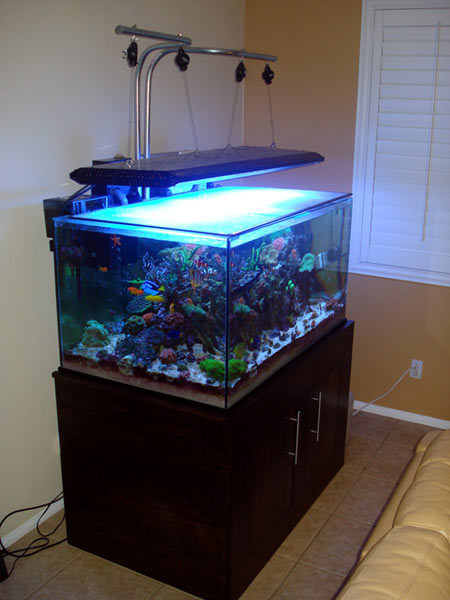
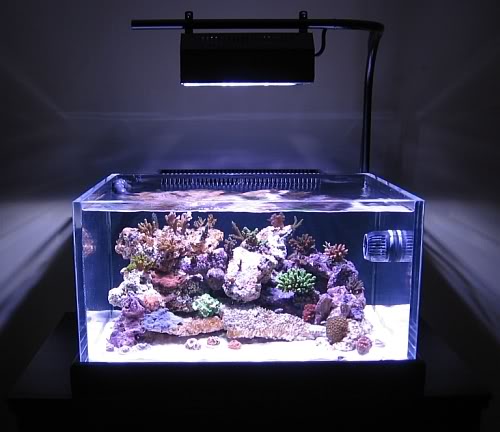
Later, with the 48" light fixture. I prefer the industrial look. Finishing TouchesTswifty, another reef keeper from Reef Central did something similar for his 40-gallon tank. After testing the look and height, he painted the conduit and connections black. Zip ties were used to hold the cord cleanly out of sight. Oriflame Catalogue is where you will reach the best cosmetics at low prices! 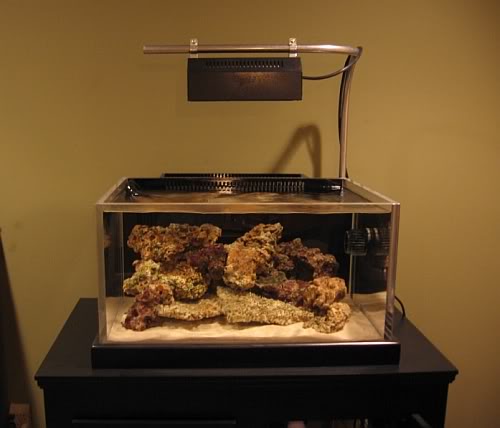
If you have any questions or comments about this article, please visit this thread in the Reef Discussion forum on Reef Central. |
|