

|
| ||

John Ouverson's (Double_J) Reef Aquarium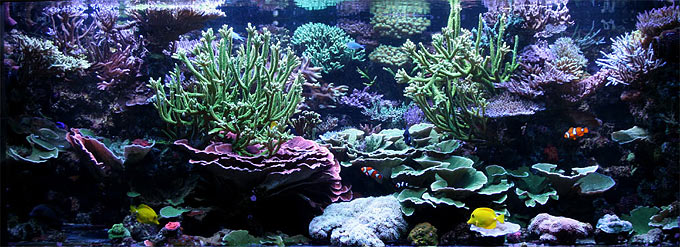 I would like to start by thanking the Reef Central community for all of the exceptional knowledge, camaraderie, and support they have given me. Without this fantastic group, my tank would never have been possible.
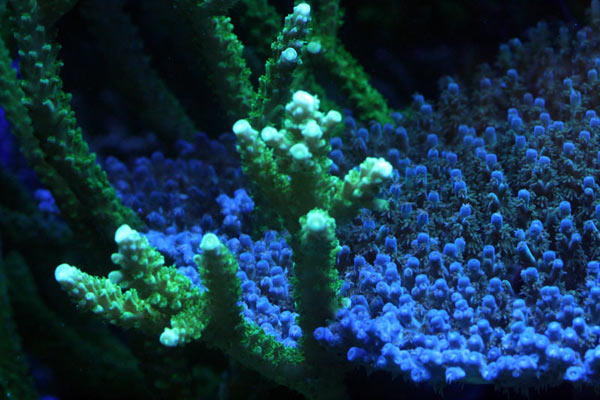 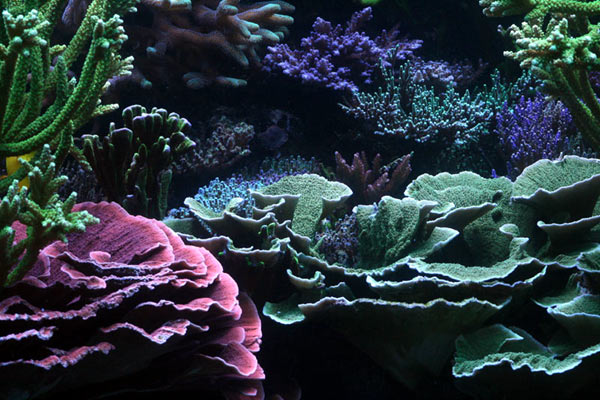 BackgroundUnlike a number of Tank of the Month recipients, I have been in the hobby a comparatively short time. In 2005, a friend and I were discussing how cool it would be to have a saltwater tank and decided to take a trip to the local fish store. I knew immediately that I was hooked. Fortunately, I invested some time in research before I got fully involved; and, as a result, I was able to avoid many of the major mistakes most neophytes make. My main source of information was the Reef Central community as a whole, followed closely by my local club, the Greater Iowa Reef Society. In hindsight, the most important thing I did was to visit the tanks of local club members. This let me see the results of the advice I was being given. The look and the logic behind a bare bottom reef maintained by Brad Bradish (dascharisma on RC) really appealed to me, and within a few weeks I ended up installing a 125-gallon bare bottom reef in-wall in my house. That first tank did not last long, but it did teach me the importance of lots of flow, lots of light, and a big skimmer. After less than a year of having my first tank established, I decided to upgrade to something bigger and better. That something is my current 380-gallon Small Polyped Scleractinian (stoney) coral (SPS) dominant reef. 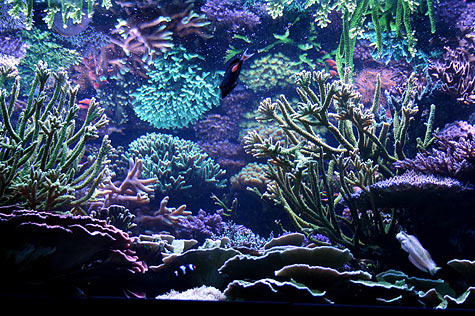
Tank LocationThe tank is made from acrylic. It measures 84" x 36" x 30" and was custom made by Aquatic System Design. The reef is located in the wall of my family room in the lower level, where my family and I spend most of our time. This space is particularly convenient because the other side of the interior wall is an unfinished area of the basement. In order to accommodate all of the equipment, I enclosed the area behind the tank to create a fish room. This also isolates the humidity and noise from the rest of the house. The fish room is approximately 15' x 8', which is just big enough to house all of the equipment and allow room to move around. The floor and the bottom of the wall are tiled to protect the rest of the house in the event of a flood. The lights are on a rail system above the tank to allow access to the tank when needed. 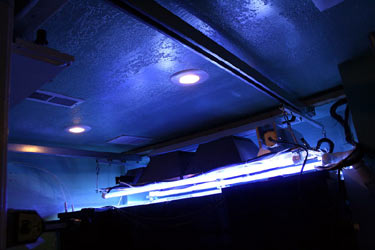
System Profile
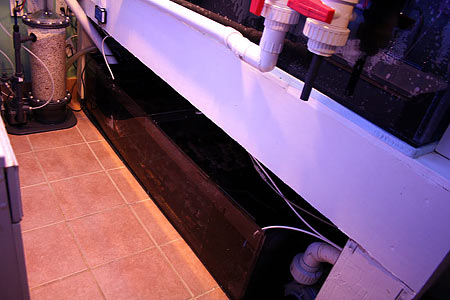
SumpMy sump sits under the tank in the fish room and is a combination sump and propagation tank. The sump measures 72" x 36" x 16" and was custom made by Aquatic System Design. It has a 400-watt metal halide light on a light rail over it that runs opposite the lights above the tank. This helps keep the tank's temperature constant, while also helping stabilize the pH. Although corals do not grow quite as quickly in the sump, it has produced hundreds of frags in the last two years. 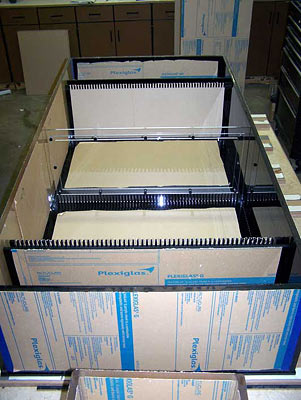
ControlControl is one of the most important aspects of my setup. I attribute my success with SPS to my ability to keep the environment as constant as possible. This is accomplished with an Aqua Controller 3 Pro aquarium controller that allows me to monitor and control temperature, pH, conductivity, and oxidation reduction potential (orp). My lights are always constant (and will even shut off if the temperature ever gets too high). The temperature is kept within a one-degree range. The pH is kept constant and the controller does not allow my calcium reactor to adversely affect the tank. The conductivity monitor allows me to double check the Osmolator to ensure that proper salinity is maintained. The orp is also monitored so that the ozone generator never adds too much ozone to the tank. 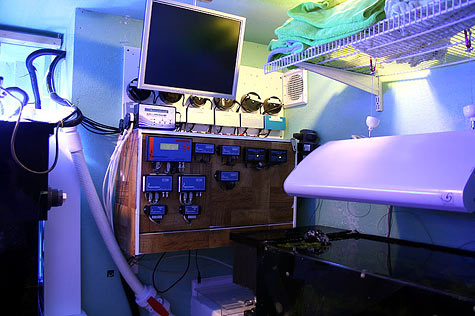
Heating and Cooling
Heating the tank is a fairly simple task. Between the pumps and the lights, the tank needs only minimal and occasional, additional heat input. Two 200-watt heaters are controlled by an Aqua Controller and come on as needed. FlowIn order to keep a successful bare bottom system, you have to get all of the detritus to the skimmer. The only way to do that is with adequate, random flow in the proper places. The most important place for flow is the bottom of the tank, followed by the rockwork. I have six Tunze Streams (four 6200s and two 6100s) for flow, in addition to the Dart return pump. They are placed on the side walls of the tank, some near the bottom of the tank and others near the top. They are on custom programmed timers controlled by two Tunze AquaSurfs. 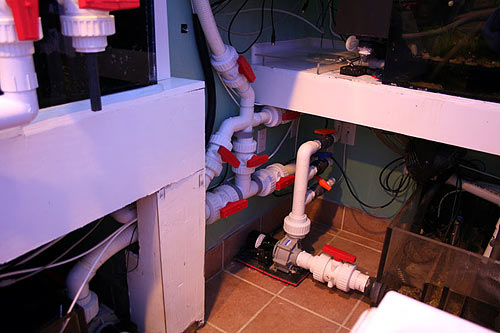
Rockwork
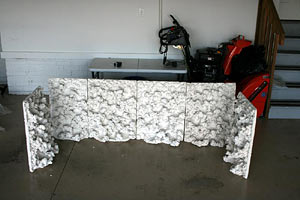
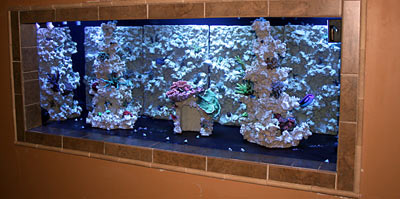
Filtration EquipmentFiltration is probably the part of the hobby that I enjoy the most. My skimmer is the backbone of the system. I have had a number of high-end skimmers, including an MRC-6 (thanks Travis!), a Deltec 902, and my current 18" diameter Volcano skimmer. Without a doubt, the Volcano is an incredible piece of equipment. It consistently pulls out between one and two gallons of skimmate a day, allowing me to feed the tank more food in one day than most tanks could receive in a week. This is nice for the fish; but, more importantly, it is great for the corals. I truly believe that heavy feedings are a key part of the incredible growth I have had with my SPS. 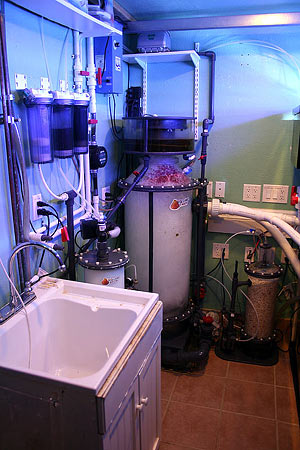
Water Parameters
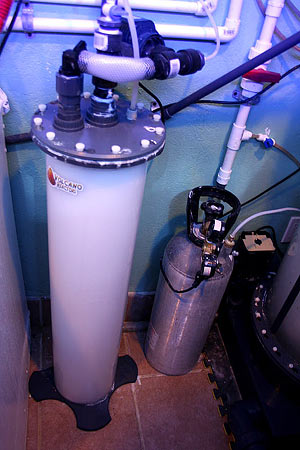
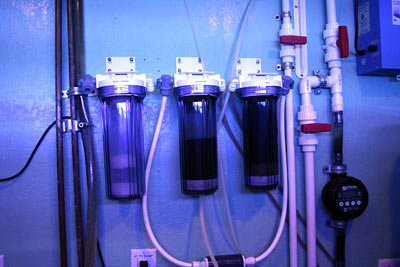
The other important pieces of filtration equipment on my system are an eight-inch diameter Volcano calcium reactor, a BRC phosphate reactor, and a BRC carbon reactor. These all work flawlessly. Their ability to hold a lot of media makes maintenance very easy. Between all of the reactors, the controllers, and the Osmolator (auto top-off), for months the only maintenance needed is to feed the tank and occasionally scrape the acrylic. 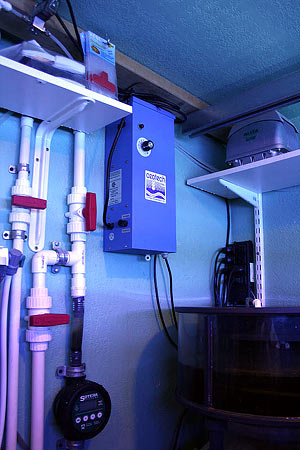
Top Off
I take a unique approach for the freshwater top-off. I have a 100-gallon fresh water tank that is connected to my sump via a Tunze Osmolator. The line connected to the sump goes to two solenoids that determine whether the water goes directly into the sump or into a kalk reactor. If the pH of the tank is less than 8.2, then the top-off water is directed to the kalk reactor. If the pH of the tank is greater than 8.2, then the top-off water is directed straight to the sump. This system provides a lot of stability and safety. Another nice feature is that if the pH gets above 8.4, the Osmolator is turned off, followed by both solenoids shutting, then the kalk mixing pump is shut off, and lastly a text message is sent to my phone to indicate the problem. This is all accomplished with my Aqua Controller.
Water ChangesUnlike most systems that receive occasional, substantial water changes, I choose to do continuous water changes. This replenishes all of the important trace elements without shocking the system the way large water changes do. I change five and one-half gallons a day with the use of a Spectrum Litermeter III pump with two remote pumps. Five and one-half gallons of premixed saltwater are pumped into the sump of the system, spread out over a 24-hour period. One and one-half gallons are removed by the skimmer each day, and four gallons are pumped out of the tank. This happens every day. Instead of just pumping those four gallons of tank water into the drain, I have them routed into a separate aquarium that I maintain. From that second aquarium, four gallons are pumped out and go straight to the drain. Using the water removed from the main aquarium to feed the second aquarium lets me maintain perfect water quality in the second aquarium without using any filtration, since the water feeding it is being cleaned by all the filtration equipment in the main tank. However, unlike simply connecting the two systems in a traditional manner, this keeps the second system from being able to affect the main system (pests, water quality, etc.). 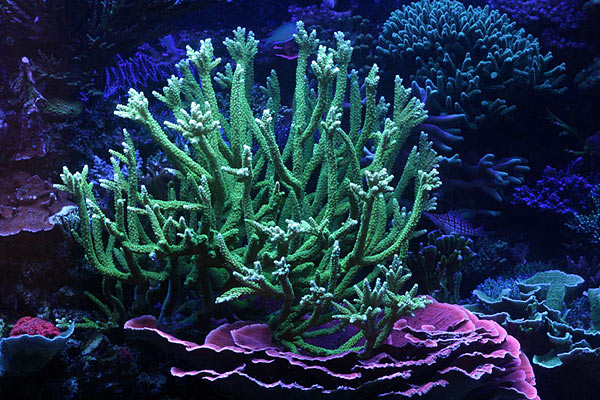
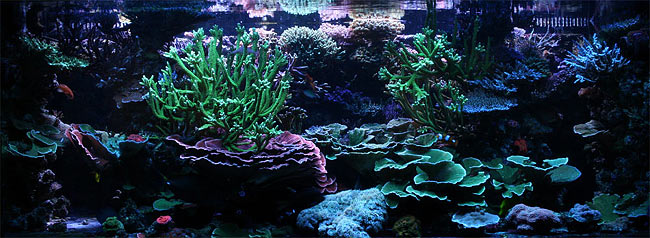
LightingThe tank lighting consists of four 400-watt 20,000K XM bulbs driven by Sunlight Supply ballasts, two 160-watt VHOs and four 36-watt T5 HO bulbs for actinic supplementation. I experimented with a number of different reflectors for the metal halides starting with do-it-yourself (DIY) reflectors, and eventually worked my way up to the current setup of two Lumenarc IIIs, one Lumenarc IV and one Lumenarc Mini. This setup puts an incredible amount of light into the tank and keeps even the shaded corals happy. I had initially intended to get by with just two halides in 22" x 22" Lumenmax reflectors, but as the tank grew out, I realized this just was not going to cut it. Although I often hear people giving the advice of going with halides only, I personally like the extra punch of color that actinics give corals, and I really love the look of a tank with nothing but actinics running. Photo Period
Battery BackupGiven the time and money I have invested in my tank, I would hate to see it all destroyed by something as predictable and common as a power outage. To protect the tank, I have a battery backup system. Essentially it is just a collection of deep-cell batteries that will power the tank in case of a power outage. It should give me nearly 24-hours of emergency power. (Not pictured)
Mix It Up!
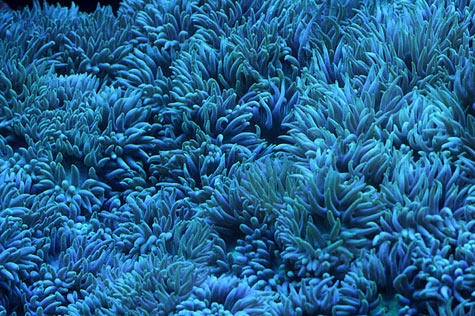
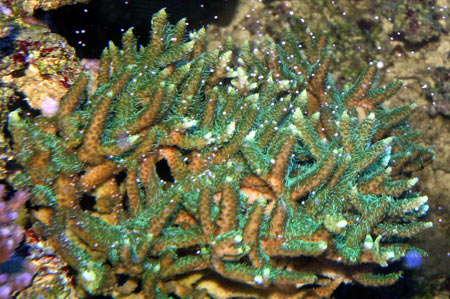
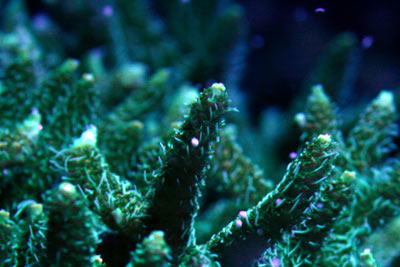
Spawning EventOne night, I observed a coral spawning event in my system. The A. millepora released thousands of eggs into the water. 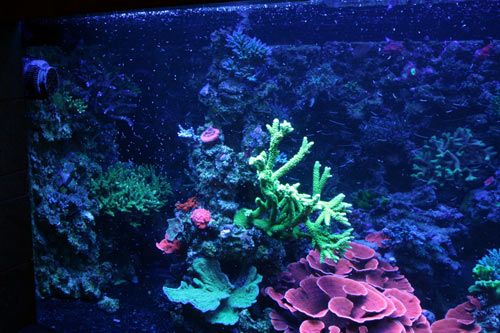
Fish:
Invertebrates:
Stony Corals:
More Corals:
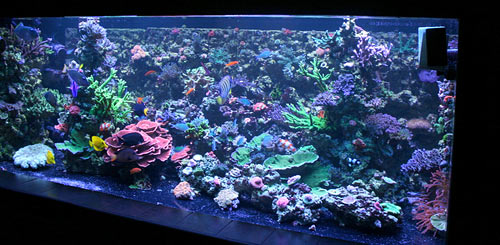
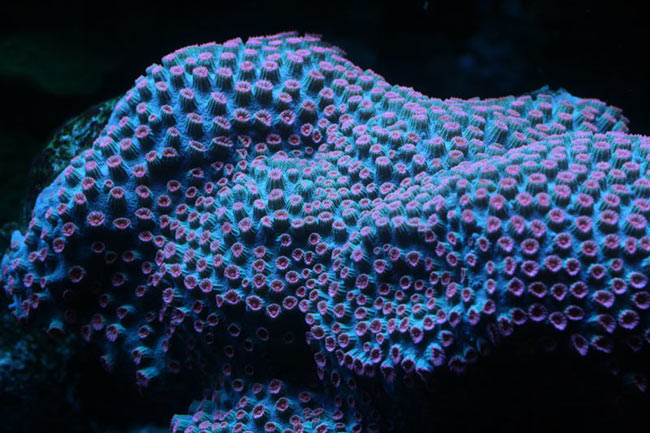
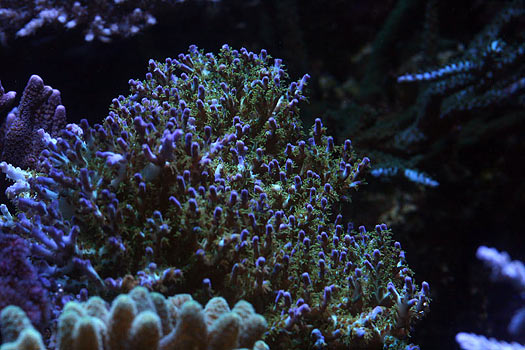
HindsightI want to conclude by discussing an issue that I never really considered at the start of my journey. One of my biggest problems is the fact that corals in the tank grow quickly, sometimes a little too quickly. I currently have a number of corals that are growing into one another. This has been a problem that has led to a lot of coral death. The Monti capricornis colonies are the biggest culprit. Their growth is simply unbelievable. I remove large chunks of "Caps" that literally weigh pounds, only to find that they have re-grown in just a few weeks. In the end I have taken a much more hands-off approach. I have just accepted Darwin's theory of survival of the fittest. I figure that some corals will be successful in the system, and others will be overgrown, shaded, or stung to death (luckily I have never had any pests). I have reached the point that I cannot even add anymore corals, because there simply is not any room available. It is unfortunate because in the end, I will have around 20 different species instead of 50. 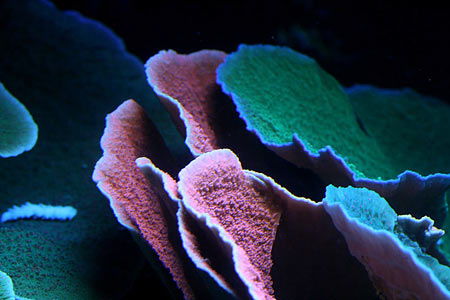
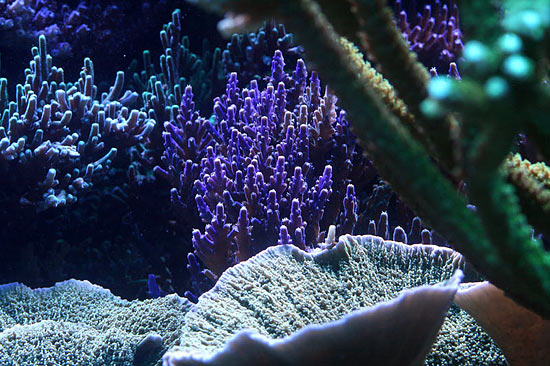
If I had it to do all over again, I would have placed encrusting corals toward the top of the tank and put the branching corals toward the bottom. I realize that this does not fit with the perceived light requirements of these corals but I think it would be better overall. Instead of allowing the branching SPS to shade all of the lower corals in the tank, it would give all of the corals more light. The way the tank is currently arranged does not take advantage of the depth of the tank. I have even had to remove some of the high-end, fancy corals from the display tank and put them in the sump to keep them from being killed or shaded by faster growing corals. However, I guess excessive growth is not the worst problem one can have. 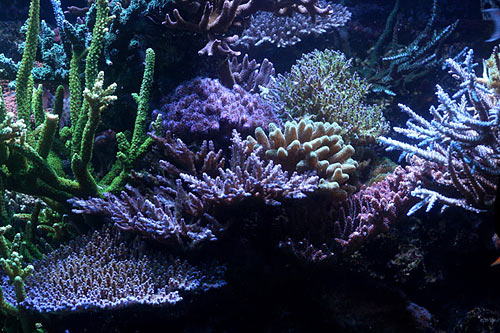
In ConclusionSpecial thanks to the entire Reef Central community for the invaluable information it has provided, the Greater Iowa Reef Society for all of the support and friendship I have received through it, Brad Bradish for his reefing assistance throughout the years, and most importantly I want to thank my wife for putting up with me and with my hobby. For more information visit my website at www.shallowreef.com 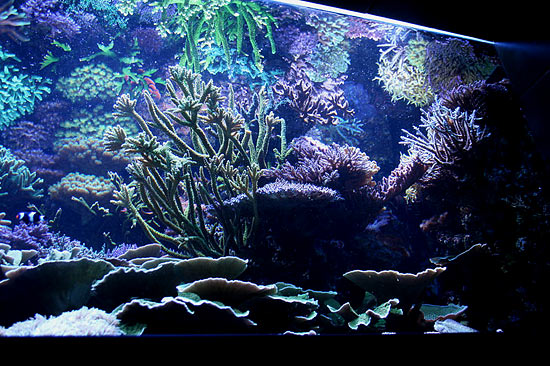
Feel free to comment or ask questions about my tank in the Tank of the Month thread on Reef Central.
| ||
|
| ||
|
|