|
Capturing the Unseen
by Paul McDevitt, Jr (juniormc8704)
NightSea equipment gives us a rare opportunity to see far beyond what our eyes allow. Here you will find a few basic steps to get you started. I hope you find this helpful, and look forward to seeing your results.
Required Equipment:
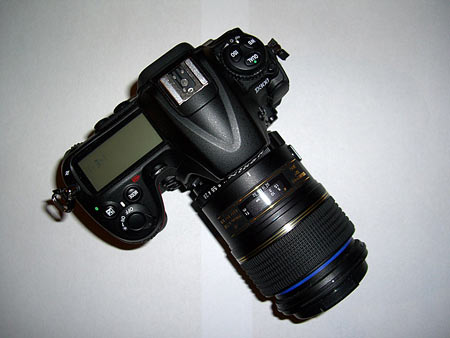
- Digital SLR Camera – Sorry folks, this is a must.
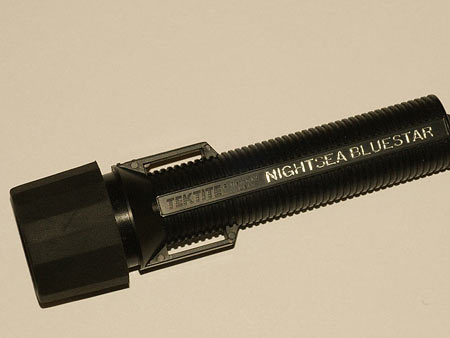
- NightSea BlueStar – This is your light source. It features a high-intensity LED, and a special filter to provide maximum fluorescence excitation.
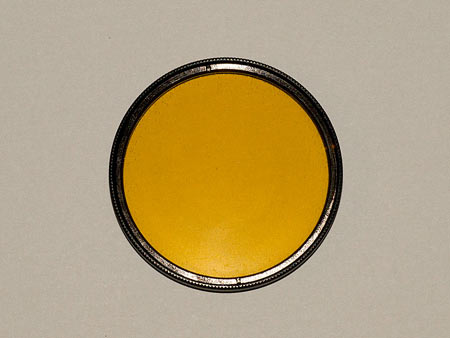
- NightSea Barrier Filter – this is a threaded filter for your camera lens. It eliminates your cameras photo sensor from seeing the excitation light source, leaving only the naturally occurring fluorescence that is present in the coral. They range in size between 49-72mm.
- Tripod – This is a very important tool for optimal results. Many shots can be several seconds long.
- Software – You will need software that can edit your photos.
Optional Equipment:
- NightSea Barrier Filter Glasses – These allow you to evaluate which corals will make good subjects. Also, these glasses are great for general viewing under NightSea lighting. You will see things you never even knew were there.
- Remote Shutter Release Cable – This is a handy tool for this, as any movement whatsoever will ruin your photograph.
- Black Pancake Spatula – This is excellent if you happen to have an extra set of hands that can position it behind the subject. This really makes a difference from an artistic standpoint.
- Software – Having software that will handle RAW files is a huge plus. Adobe Photoshop (CS or Elements) works perfect.
- Macro Lens – A true 1:1 macro lens will give you optimal results, as the light source has a very narrow beam.
Step One: Camera settings
Here are my recommended settings, keeping in mind these are open for change, and should be tailored to your style and ability level.
File Quality – RAW
ISO – 800 or Higher
Metering – Center or Spot Weighted
Shooting Mode - Aperture Priority
Manual Focus
Step Two: Preparation
It is important to have ALL FLOW turned off. If you run fans in your hood, or over the surface of your tank, these should be turned off as well. Remember, the exposure times will likely be several seconds long.
Turn off ALL lighting over your tank, and also any other lights in the room. You may find it easier to shoot at night if your tank is in a room with natural light from a nearby window.
If you have a canopy that is easily removed, remove it. It will make things a lot easier.
Install barrier filter onto lens.
Step Three: Selecting a Subject
Put your barrier filter glasses on, and use the flashlight to find an interesting subject. Keep in mind some of the most incredible subjects may be those that are less dramatic under your regular tank lighting.
There are a few colors that generally do not give off strong fluorescence. Look for subjects with good contrast. Greens and yellows give off an intense green glow, as they generally have brighter fluorescent proteins than darker colors like red and purple. However, there are exceptions to these generalizations.
Some corals, even those that are mind blowing under normal lighting, will not give off much, if any fluorescence.
Step Four: Capture the Image
Once you have selected your subject and have the camera in position, there are a few more things that need to be done.
Position the NightSea flashlight so that subject is brightly illuminated and the surrounding area is not. I find it best to position the light in such a way that the back edge of the light drops off just past the subject. This will make it much easier to get a solid black background in the finished photo.
It is important to know that the NightSea BlueStar flashlight is fully submersible. You may need to break the surface of the water to get the subject illuminated properly. For deeper tanks, you may choose to mount the flashlight to an acrylic rod with zip ties and lower it into the tank.
You may want to have a friend hold the flashlight while you adjust your camera settings as needed. This wont be necessary once you are more familiar with the process.
As with any picture, set your aperture to achieve your desired depth of field. You may find it necessary to lower your aperture, or increase your ISO setting if the shutter speed exceeds six seconds. This is the cutoff point for me, as it is very unlikely for the coral itself to remain still for that long.
If you aren’t using a shutter release cable, you will want to use the shutter delay option on your camera. This will ensure that your camera has enough time to stabilize after the shutter button is depressed.
Take a few pictures of each subject, and adjust your exposure compensation in the appropriate direction if you see that it is necessary.
Note: You may notice dimly lit areas of your photo that have a red hue to them. Don’t worry; they will likely disappear in postproduction.
Step Five: Postproduction
Download your pictures onto your hard drive. RAW files are huge; you won’t want to wait for rendering off your memory card.
I will explain this process using Adobe Camera RAW. This is the same when using either Adobe Photoshop CS or Elements. It may need to be updated or downloaded from Adobe’s website.
Within Photoshop, open one of your new photos. If shot in RAW, PS will automatically open Camera RAW. You will see a scaled version of the photo on the left, and a series of sliders on the right. For NightSea photography, only a few of these are useful.
White Balance – This has little use with NightSea, however you may choose to adjust it if the hue/shade is off a bit.
Exposure – Depending on the color emitted by the coral, this may need to be dialed down a bit. Try to preserve as much detail as possible. Keep in mind that your camera was not designed to capture this light spectrum.
Blacks – This is by far the most useful setting for NightSea. Increase this level to eliminate as much background detail as possible. You will also notice that this does an excellent job in bringing the picture closer to what you saw through the glasses. (You can see where a black spatula would come in handy if the surrounding area had corals that also contained fluorescent proteins.)
 |
 |
 |
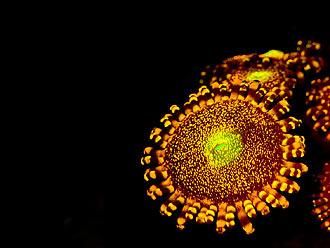 |
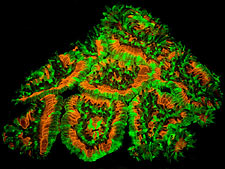
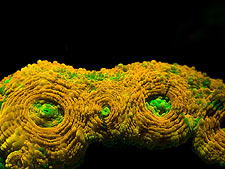
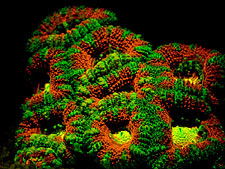
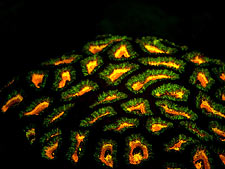
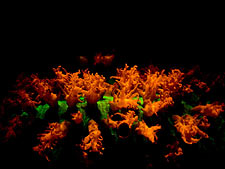
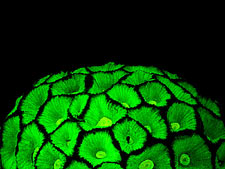
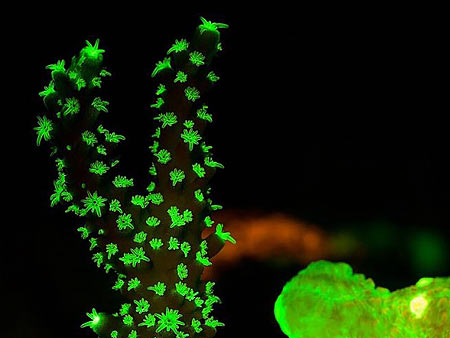
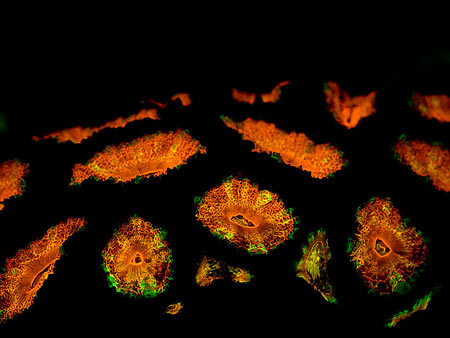
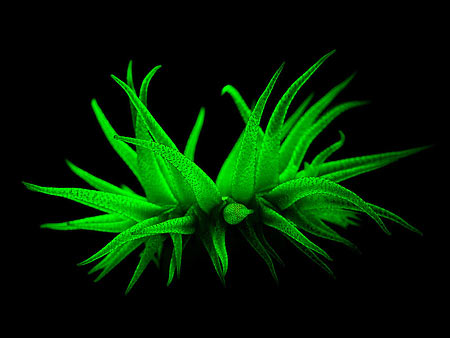
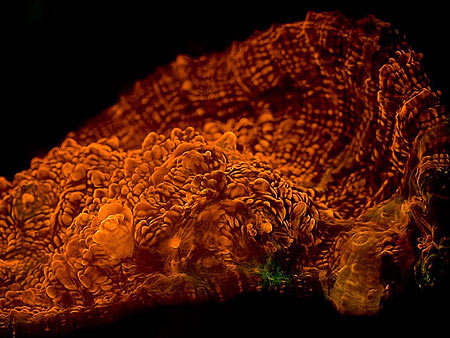
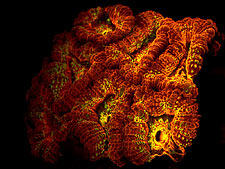
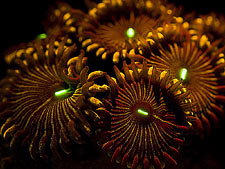
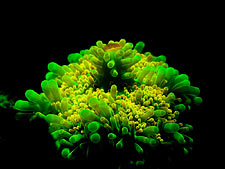
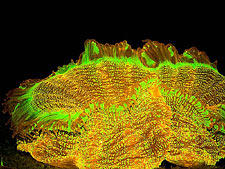
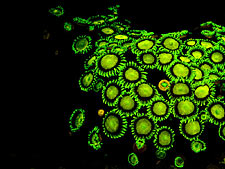
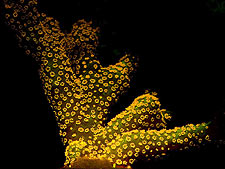
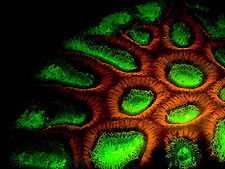
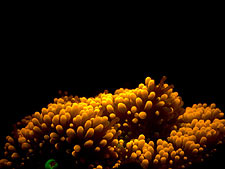
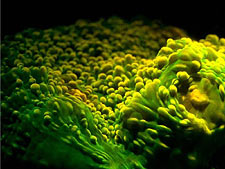
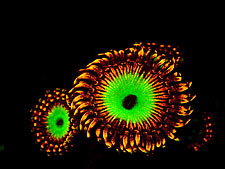
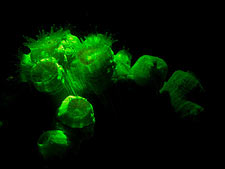
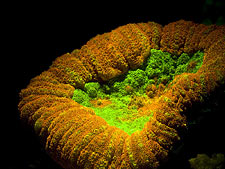
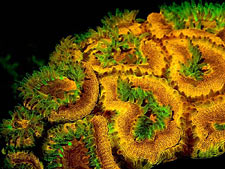
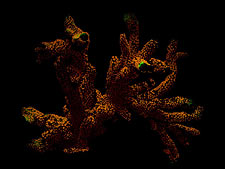
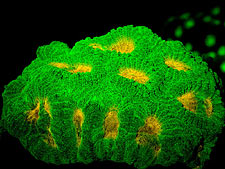
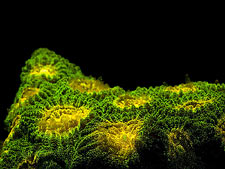
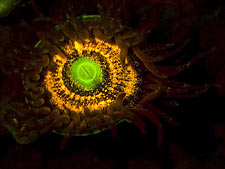
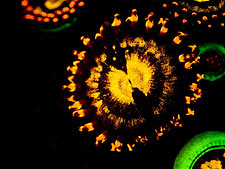
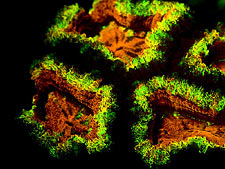
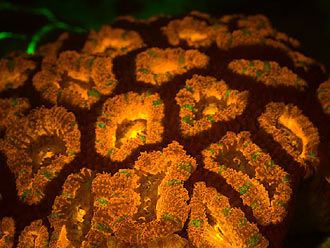
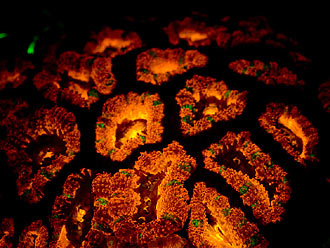
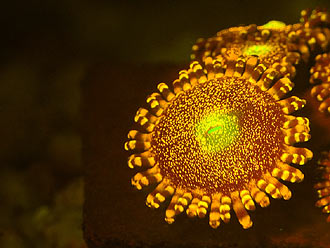
| Left: Images taken without assistance, just how they sit in the tank |
Right: Images taken with background blacked out |
Once you have adjusted these settings, click open.
You are now in the regular Photoshop program. It’s time to crop your photo to the desired size and resolution. Once you have you photo properly sized, use the Unsharp Mask filter to bring out the detail, but use it sparingly. If you have pushed the sharpening too far you will notice white artifacts appear in your photo.
Save your photo using “Save for Web…” and be sure to save it as a JPEG, as your RAW file must be saved in another format before it can be viewed on the web.
Congratulations! You now have a beautiful piece of art that will spark all sorts of questions and conversations.
Tips:
Take multiple photos; the long exposure times will render many useless.
Play with your camera settings, and don’t be afraid to experiment in PS, its all about finding the right balance.
Be sure to turn all pumps, lights, and other equipment back on when you are done.
Resources:
See additional NightSea photos at www.smokinreefs.com
NightSea equipment can be purchased at www.nightsea.com
Magnificent Fluorescence! - Aquaristic Perspectives
If you have any questions about this article, please visit my
discussion thread
on Reef Central.
|