|
How to Recharge DI resin
by David Sanders (dngspot)
Before starting, I would like to mention that some information available on the web would have you believe that a full body hazmat suit is needed to safely use the two chemicals necessary to recharge de-ionizing resin (DI). If common sense is used, youll be safe. Most homes have had these chemicals to some extent in the cupboards below the sink. Acids like muriatic or hydrochloride are used to remove scale from showers and toilets. Lye has been used to clear drains and cut grease for years. Your grandparent may have used lye soap also. The muriatic acid is stronger than packaged bathroom cleaners. I did get small amounts on my skin and it felt like a mosquito bite. When I realized that it was not, I washed my hands and all was good. Some chlorine gas comes out of the bottle and when it is mixed, so don't sniff the bottle. I mention this because those without common sense should not attempt this project.
A little more than a year ago I was poking around on the web, I found a few companies that regenerated DI resin. I began to look for a way to do it myself. I ran across an article on reefs.org that explained what I was looking for. Although their finished result was the same as what we do, their canister had a drain. The drain allows the resin to be regenerated in the canisters. Most canisters on the market do not have this drain, so another solution was needed.
First gather up the products needed. The chemicals can be found at Lowes and the tools at Wal-Mart. The lye is found at Lowes in the pluming section. It is used for clearing drains and made by a company called Roebic, and is 100% sodium hydroxide (caustic soda), listed as lye on the back of the bottle. The muriatic acid is found in the paint department. The mixing bottles must hold 16 oz. of fluid. I now use an old lye bottle; it is sturdy and holds up to the heat. The two containers used to separate the resins came from Wal-Mart and hold 64 oz. each. I also needed a large colander, window sheer as a filter, a stir stick, 5 oz. measuring cup (large shot glass), two 32 oz. tumblers, and two 5 gallon buckets. When I first did this process I used a turkey baster and coffee filters. The turkey baster was used to separate the resin, and the coffee filters where used to filter the resin. I will show both processes.
Obviously, you need a decent amount of used DI resin. During the recharging process, a little bit of resin will be lost, so it is best to have a few cartridges of resin saved up.
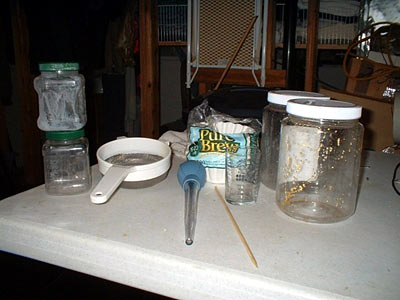
Orginally, the tools I used:
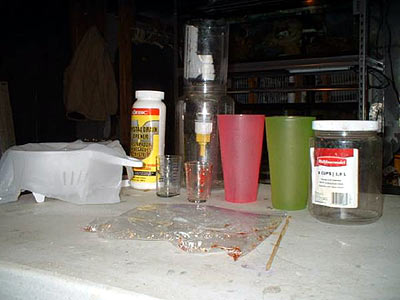
What I use today, including some great suggestions by others on Reef Central:
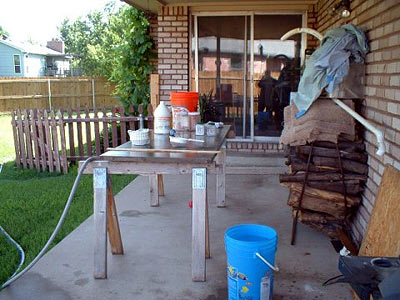
At one time I worked outside so I could have a water hose nearby. During the winter here in Kansas, this is not very practical for the simple reason that the hose will freeze solid before I can use it. I have since moved into the basement to do this project and that has worked out fine. In the basement I have a foldable plastic table; any spills can be wiped up using a towel.
The Process:
The orange bucket on the table has reverse osmosis (RO) water in it and the blue bucket is full of cool tap water. The blue bucket is dumped after the lye cools and is later used to catch the acid and lye solutions.
First - measure 11 oz. of RO/DI water and 3 fluid oz. of lye. Previously, I used 9 oz. of water and then added 2 oz. more after the lye cooled. I have not seen any difference between the two processes, and have since omitted that extra step.
Poor the lye in the water. I have never seen the lye splatter or bubble. I would like to emphasize: water first, then add the lye. If you put the lye in first, expect to clean up a mess, as it will burn through the container pretty darn fast.
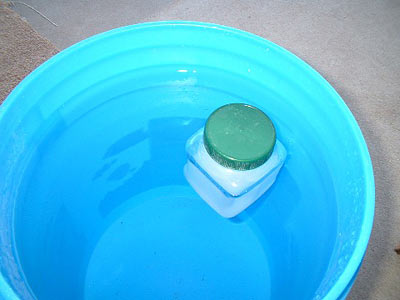
Next put the lye solution in a bucket of cold water, some have even suggested putting it in ice water. I usually do two batches at one time, so I double the water and lye and have never had a problem with the container getting too hot. The container I now use is the old granular lye bottle. It is sturdier and allows me to put more of the solution in it for bigger batches. It is important to keep shaking the container; this will mix the lye into the water and keep it from forming a rock-hard residue on the bottom of the container.
Mix 6 oz. muratic acid to 6 oz. of RO/DI water. The tumbler to the left (just out of the picture) is what I put the acid and water in. Set aside for now.
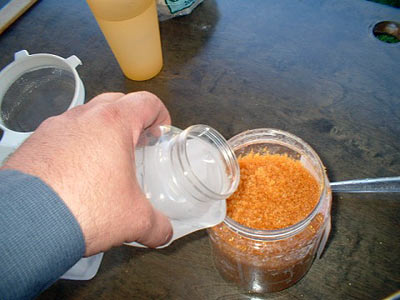
Place the resin in a 64 oz. container then add the lye. The following images will explain both methods.
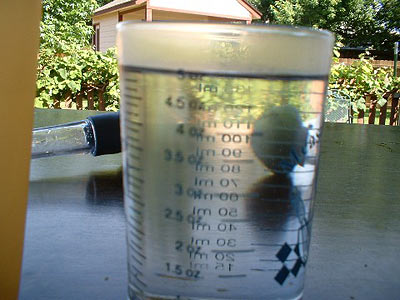
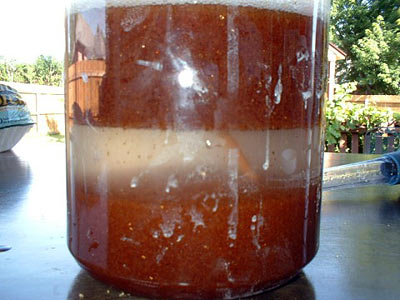
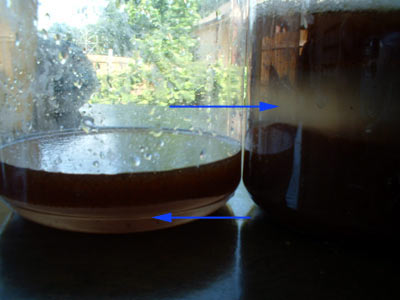
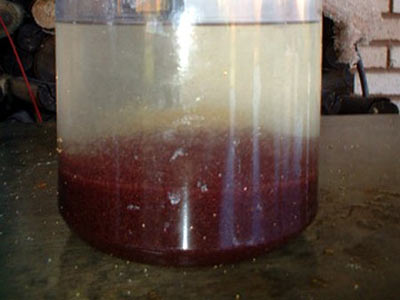
After stirring the resin and lye with the stir stick, look for a space to form between the anion and cation. The anion floats and the cation sinks. The cation is now completely exhausted. The anion is now being charged in the lye solution. A gap forms between the two types of resin.
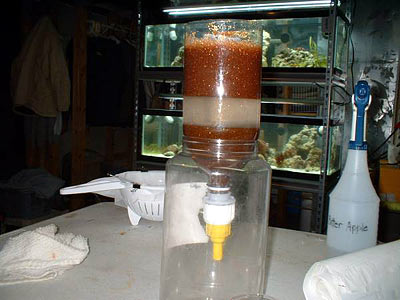
Instead of my older way of doing this, now I use an upside down 2-liter bottle. This idea came from Kau_cinta_ku on Reef Central. Screw a transmission fluid valve fitting onto a 2-liter bottle, then add the resin to the bottle and add lye. Stir, and give it time to separate.
With an empty container beneath, just open the valve until the lower resin (cation) has drained off. This is much simpler and faster that what I used to do. The yellow valve eliminates the turkey baster method and cuts about 20 minutes from the process. You can drain it right into a filter to cut out one more step. Keep reading. ;)
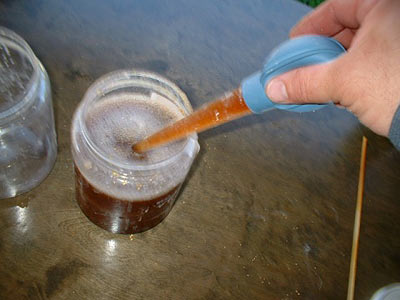
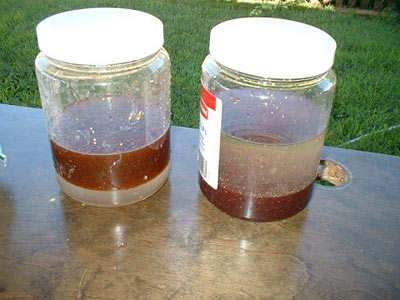
If you don't have access to the valve pictured above, siphon off the top layer of resin (anion) with a turkey baster and put it in another container. These pictures show how:
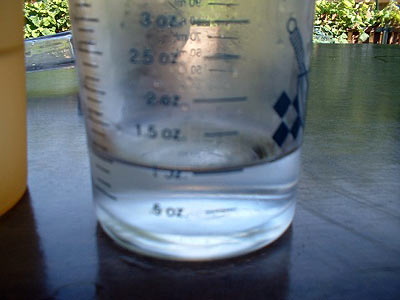
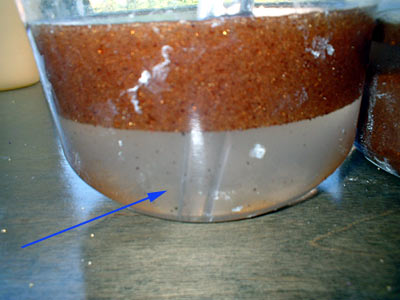
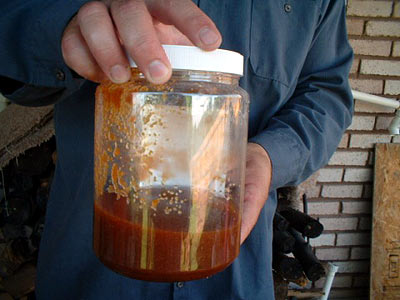
As you remove the solution of anion and lye, the gap between the upper resin and lower resin shrinks. At the same time, the fluid in the second container increases. In this next picture, I have just started and have not removed much lye solution, but you can see the gaps.
As some of the resin has been transferred, you may notice that the gap in the first container is too low and you are now picking up the cation. You may need to take some of the lye solution from the bottom of the second container and put it back into the first. You can tip the jar to increase the gap when you transfer fluid back to the first container. The turkey baster is in the picture, if you look closely.
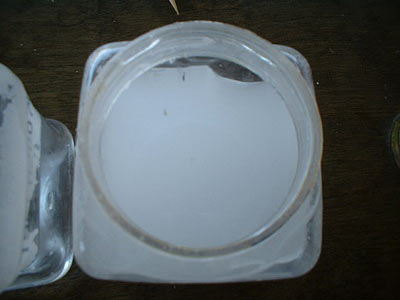
After you have separated the top layer of resin you should end with something similar to the image below. Keep track of which part is which: anion floats, cation sinks. Set the anion aside for now.
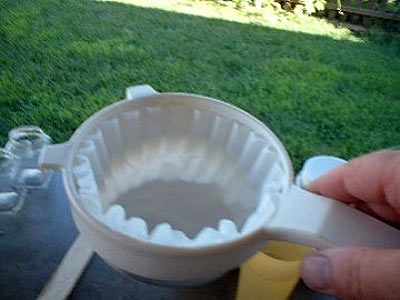
Rinse the cation portion:
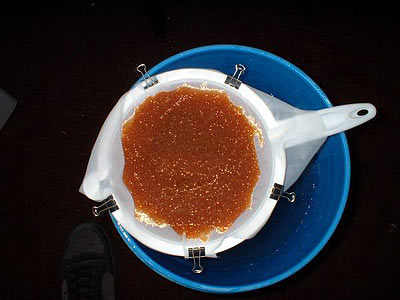
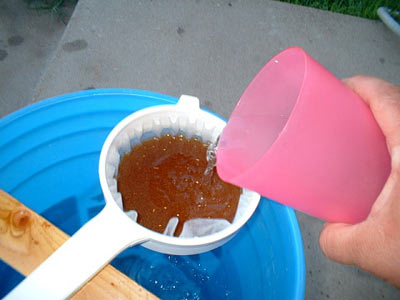
A fruit strainer with a coffee filter.
Pour half of the cation in the coffee filter, since that is all that will fit. Rinse a gallon of RO/DI water through it, then repeat with the rest of the cation batch. Put the rinsed cation in a one-gallon ziplock bag, shaking off the coffee filter in the bag to save as much resin as possible. Clean the container, as you will soon be putting the resin back in it with the acid solution.
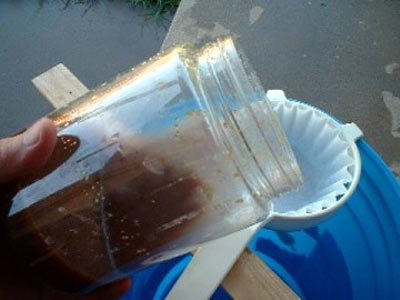
Alternately, get a larger colander and window sheer and rinse all of the cation resin at once, pouring a gallon of RO/DI water through the large colander. This idea came from Tgunn on Reef Central. Note how the sheer is secured to the colander with clips.
The cation resin, prior to acid being added. It is about the same color as the anion.
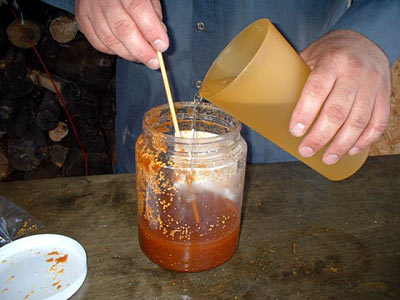
Add the premixed acid solution (mentioned earlier) to the cation resin. All of the solution is mixed into the cation. The goal is to remove the lye that exhausted the cation, then charge it with the acid. If the cation is not drained and rinsed it will not charge with the acid, because of the base that is still on the resin.
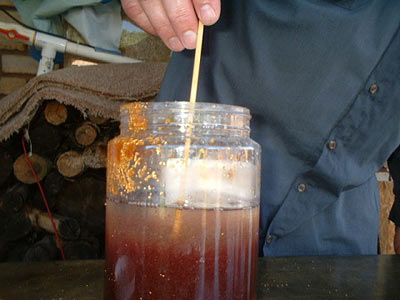
Stir the cation and acid. The color changes pretty quickly...
... to purple.
Set the anion (the resin that floats) and the cation to the side and find something to do for an hour.
After the hour is up take the anion resin and in two batches run one-gallon of water through each. Put your rinse water in the same container that you rinsed the anion resin in, in the earlier step.
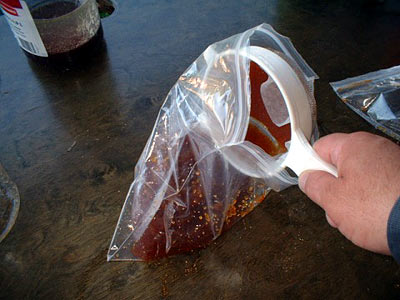
Then put in a new zip lock bag.
Do the same thing to the cation resin. Two batches - one gallon of water through each batch. Put all rinse water and chemicals in the same bucket. The acid and base will neutralize each other.
Put cation resin in same bag. (For separate resin bed cartridges, keep the resins in separate bags.)
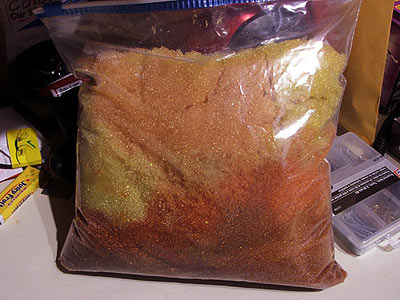
Mix well. After the process is finished you should have something like this. Your color may be different but, it should look pretty close to what you had when it was new.
The canisters should look like new. After a period of time you may see the color-changing dye fade. I have used the same resin for about two years and cannot tell by a change of color when the resin is exhausted. I have found it more reliable to keep an eye on the Total Dissolved Solids (TDS).
Before using the renewed resin, you may need to run the RO system to a nearby sink until the TDS is 0. This all depends how well you rinsed your resin. If it reads 0, the resin is safe to use.
You can recharge resin repeatedly, which not only saves money but also keeps the DI resin out of our landfills.
References
"How to recharge DI resin"
"How to recharge DI resin"
"Edited TWP Recharge Instructions"
|