|
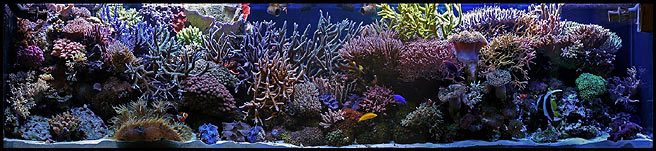
Joseph Weatherson’s (240G) Reef Aquarium - Revisited!
Back in November 2005, Joseph's gorgeous tank was named Tank of the Month in Reefkeeping Magazine. A little over two years later, could it be topped? The short answer is yes...
Double Vision
Id like to once again thank everyone at Reef Central for selecting my tank for Tank of the Month. I am truly honored. It’s hard to believe that it’s already been just short of two and a half years since my tank was originally honored. It’s now four and a half years mature and has had its ups and downs through these years, but mostly positive overall. Let’s start with the issues.
Pests
My SPS were contacted by two nemesis pests: "red bugs" and the very evil "Acropora-eating flat worms" (AEFWs). As much as I was adverse to treating my whole tank with Interceptor for red bugs, the demise of several colonies swayed my feelings, and I bit the bullet. After three treatments performed according to the recommendations, my corals were red bug free. Prior to treatment, I took two weeks to remove all my hermit crabs and shrimp from the main tank and housed them temporarily in my nano tank. After several water changes and a couple of months had passed, I moved them all back to the main tank. The only losses, aside from all the red bugs, were the many Acropora commensurable crabs that were impossible to remove. I’ve since been slowly adding replacements through the generosity of a fellow hobbyist who works at a local fish store (thanks again, Nathan).
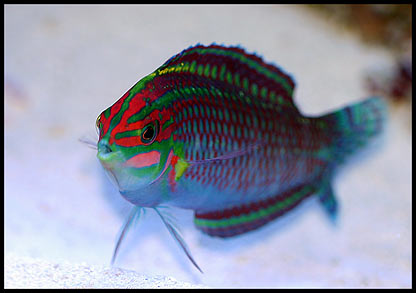
The AEFWs were not so easy to eradicate, and it’s only recently that it appears they have been completely removed or at least to a point where I no longer see any evidence of them. In the beginning of this battle against them, I attempted both chemical and biological means. Chemically, I did many whole-tank treatments of very heavy, three-times the recommended dosage of Salifert's Flat Worm Exit, which seemed to help keep them in check but did not work fully towards their eradication. My best results were found when I regularly removed the few colonies that they seemed partial to and dipped them in Pro-Coral Cure (Tropic Marin). This also included searching with a magnifying glass for the almost microscopic eggs and methodically scraping them off with dental tools. This was perhaps a bit tedious, but in the end, well worth the effort. On the biological control side, I added a Christmas wrasse, but this fish seemed oblivious to my plight with the AEFWs.
 |
Unfortunately, this fish also went missing after a few months,
never to be seen again. Then there were the additions of Dragon
Head Pipefish of which were said to be red bug eaters. While
these were very interesting fish, they too appeared oblivious
to this pest. These too perished but after a longer period
of time, almost a full year. My best assumption is that these
were unable to find a suitable food source and slowly starved
to death, despite the multitude of prepared foods available.
Lost Inhabitants
I lost a couple of clams to what appeared to be pinched mantle syndrome. Luckily, this only affected these two clams and didn’t spread to the others. I also had to move three of the other remaining clams due to the SPS corals completely covering them. Unfortunately, this move was apparently enough to bother two of these clams enough that they succumbed.
While my two Serpent starfish continue to thrive, the three Linckia starfish slowly, over the years, perished. It would appear that they, too, didn’t find enough food source to sustain their lives, despite an established tank.
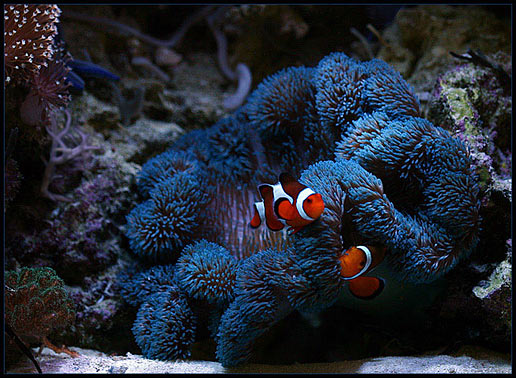
Last of all, I found and attempted to keep a beautiful blue carpet anemone. This seemingly healthy looking specimen lasted only a couple of weeks before losing its size and color until its death. In the process, this caused a chain of events. My rose bubble-tip anemone (RBTA) was possibly affected by either a chemical release from the carpet anemone or by whatever did the carpet anemone in. The RBTA went through a split, separating in two. One of the two True Percula clownfish, the smaller of the two, which were hosted by the RBTA, also perished, as well as the smaller clone of the RBTA. A friend and fellow hobbyist was kind enough to take and keep in his tank the other clone of the RBTA. It still thrives to this day, and I eagerly await a clone from it should it ever split again. As a side note, my Sebae anemone appeared to not be affected by this episode and continues to thrive.
Equipment
On the equipment side, Ive had two mishaps, both just recently. First, I had one of the eight IceCap VHO double end-caps essentially burn up.
It appears that corrosion may have caused the internal electrical connector straps to short out and subsequently melt and burn the plastic housing. I was lucky to have been present at the time and prevented any flames or worse. But the shorting was cause enough to also damage the attached IceCap 660 ballast as well as the Solar 750 dimmer connected to this system. I’ve since had the ballast repaired but am deciding if I will again add a dimmer or not. Currently, since this episode, I’ve been running the tank on just the one 440-watt VHO system with no apparent negative effects to the inhabitants. I am also considering if the cost of again running the second lighting system is worthwhile or not. The cost of electricity here in California is astronomical and plays a huge role in reefkeeping decisions… unfortunately.
Secondly, my 1/3rd HP chiller decided to die. It appears to have lost its freon charge due to a leak. This prompted the “opportunity” to upgrade to the ½ HP unit I wanted, feeling this was better suited to my tank. This unit is now in service and ready for the impending Central Valley summer.
Enough Gloom and Doom
Okay
now that the issues I've faced are out of the way, let's talk about the positives
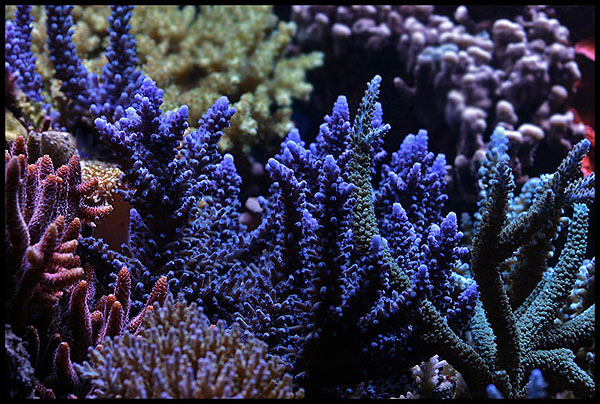
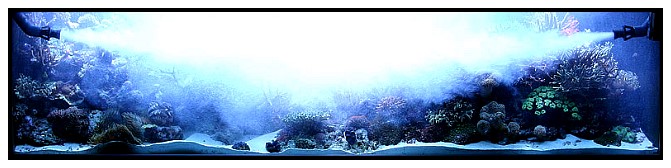
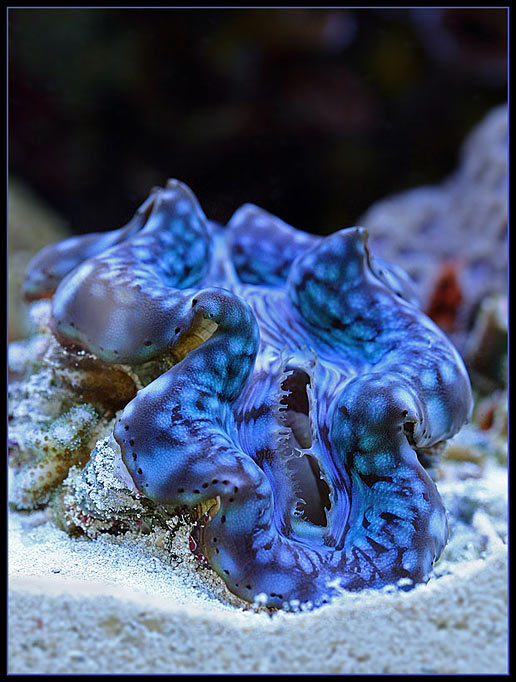
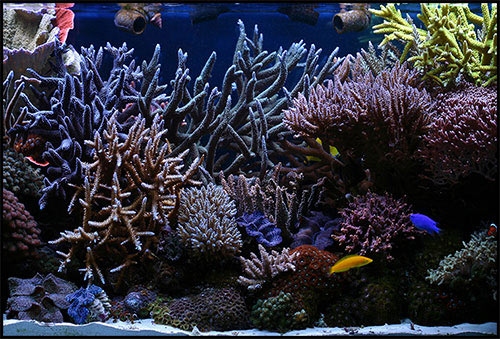
or at least those things which didnt create anguish. The tank has pretty much been on auto-pilot with corals growing and coloring very nicely. In fact, much of the original structural look of the aquascaping has been erased by the ever growing SPS corals. So much so that the fish have had to cope with narrowing passageways, but they are dealing with this just fine. Ive been fragmenting corals for fellow local hobbyists when asked and periodically have inadvertently fragmented others when doing regular tank maintenance. I am also currently housing a second blue T. squamosa for a friend who is in the process of moving between states. My fish continue to thrive, aside from the noted exceptions. Heres the current fish list:
Fish
- 1 - Sailfin tang
- 1 - Yellow tang
- 1 - Purple tang
- 1 - Heniochus butterflyfish
- 1 - Coral Beauty angelfish
- 4 - Pajama cardinals
- 2 - Blue Chromis (had 12 originally - they've slowly dwindled to the current two)
- 2 - Blue damselfish
- 2 - Ocellaris clownfish
- 1 - True Percula clownfish (sadly, lost her mate during the anemone saga)
- 1 - Clown goby (hitch-hiker, but four tank-years old now)
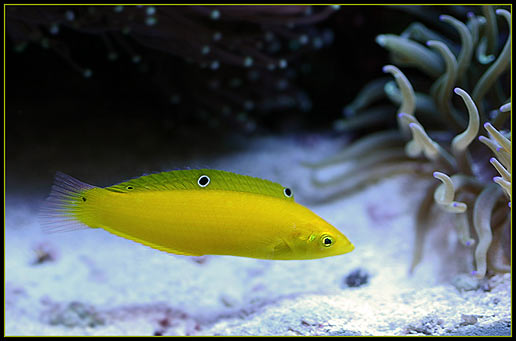
- 1 - Yellow Coris wrasse
- 1 - Sixline wrasse
|
|
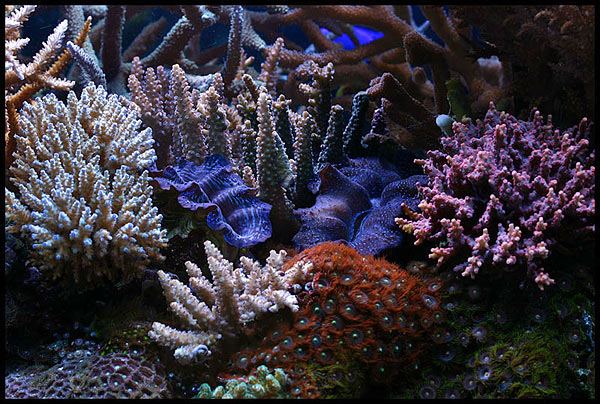
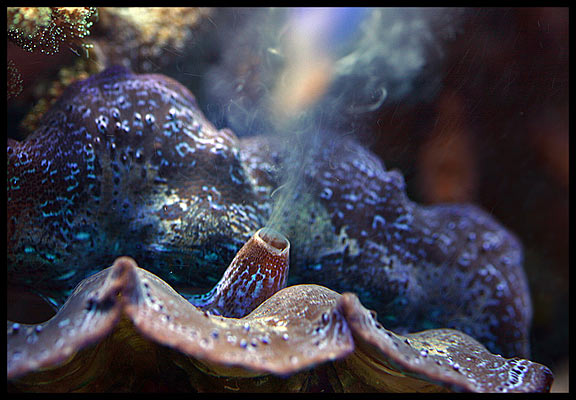
The tank has also experienced reproduction on a large scale. First, there was a clam spawning event on June 14, 2007, which I was lucky enough to witness and capture with photos. All of my clams except the blue T. squamosa and both T. maxima "Teardrops" participated.
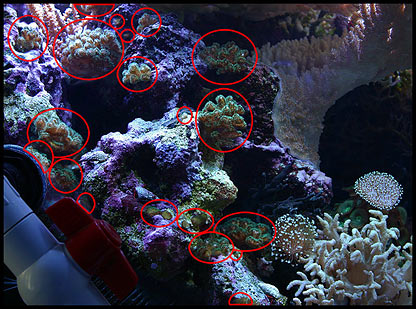
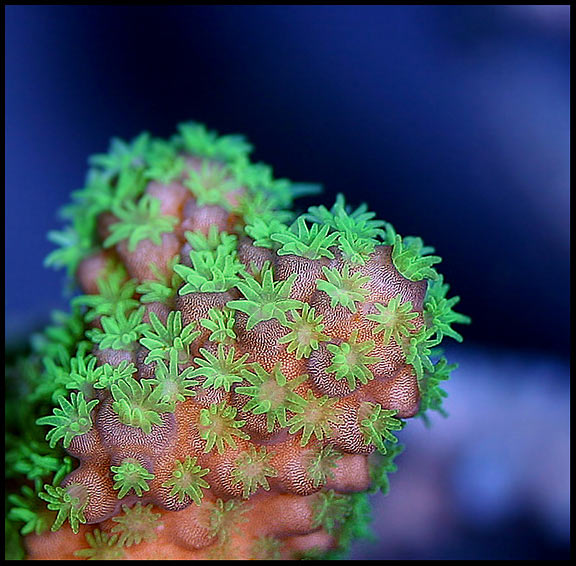
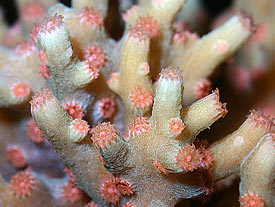
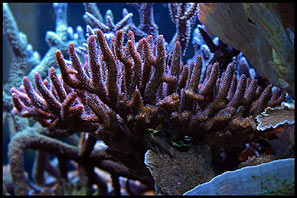
Then there was the Pocillopora coral that dropped a multitude of polyps (broadcast spawning) all about the tank. It's difficult to look at any given area without finding a small version of this coral growing somewhere.
While Im pleased that I can provide the system that is inducing this type of behavior, I could do without this much coral-graffiti of this particular coral. Still, its an exciting event to have take place, nonetheless.
On the Equipment Side
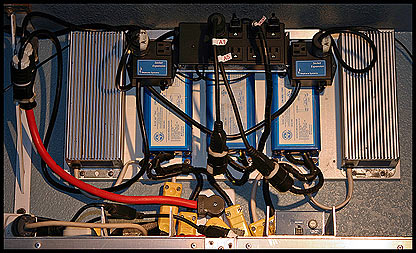
Since the original Tank of the Month article, I upgraded my metal halide lighting from five 250-watt double-ended (DE) PFO pendants to three 250-watt and added two 400-watt DE IceCap pendants. These pendants are convertible between 250 and 400-watt bulbs so if the 400-watts didn't suit my liking, I could always resort back to 250-watts with little effort. But, the 400-watts are staying for now as they have helped with coral growth and coloration as well as compensating for the fact that these two lights are directly above the tank's light-diffusing top braces. Currently, the three 250-watt ballasts power the Hamilton 14,000 Kelvin bulbs and the two 400-watt ballasts power the IceCap 20,000 Kelvin bulbs. Although these are different bulbs, they seem to match almost exactly in color, so there is little-to-no visible difference when viewing the tank. Incidentally, the 400-watt bulbs are driven by matching IceCap electronic ballasts.
 |
I also updated from the Neptune AquaController II to the AquaController III Pro and replaced all the X-10 controllers with hard-wired, and more specifically, noise-interference interruption-free DC8s and a DC4. The three DC8 power strips control lighting, pumps and other equipment while the DC4 handles the chiller and cooling fans.
The original 25-watt incandescent moonlight bulbs were subsequently replaced with eleven LED moonlights controlled by a lunar solstice device that is timed to match and simulate the lunar cycle.
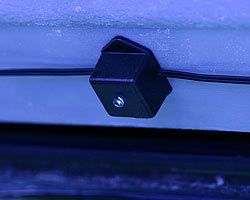
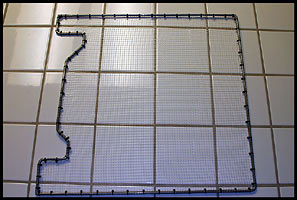
In November of 2006, and due to the addition of two wrasses and their propensity to jump out of aquariums, I designed and built three fish guards that sit over the top openings of the tank. I built the frames for these with .25" steel rods bent to specifically fit the three openings. I then had these frames powder-coat painted to prevent rust corrosion. Then I stretched and wire-tied on clear plastic mesh which has .25" square openings. There’s minimal light diffusion caused by these effective guards.
 |
 |
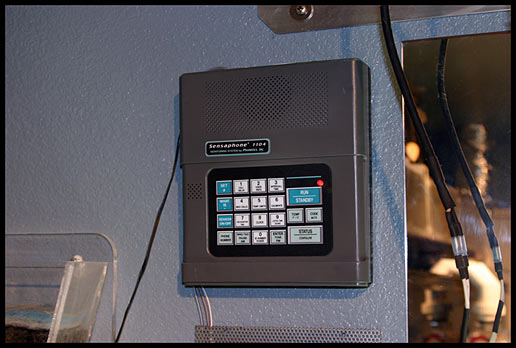
As an added measure of safety, I added a Sensaphone 1104 monitor that keeps track of power outages, my tank's water temperature, the tank room's sound level and water leak sensors placed on the floor on either end of the tank. Should any parameter deviate from the set points, this unit will dial four different phones and provide an electronic voice alert of the specific issue. This unit provides great piece of mind when we are away from the tank for any length of time. With this, and the ability to check tank parameters as well as control devices remotely over the internet via the AquaController III Pro, we can even enjoy ourselves knowing I can, to a certain degree, control the tank should any issues arise.
 |
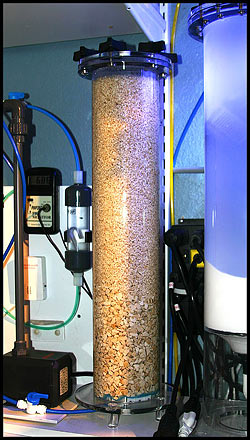 |
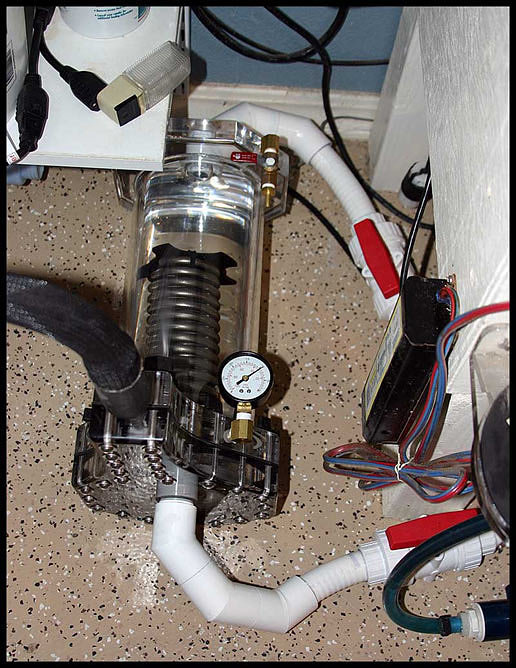
The original second chamber for the calcium reactor that I built years ago of acrylic flat panels, decided to crack and eventually leak due to stress. So I built a new unit from acrylic tubing for its added strength. Theres not much to this second chamber. Simply, effluent from the calcium reactor flows into the bottom of this device and exits through the top after having passed through the media within. This aides in scrubbing off some of the residual CO2 and in doing so, raises the effluent's pH from 6.5 to 7.0. |
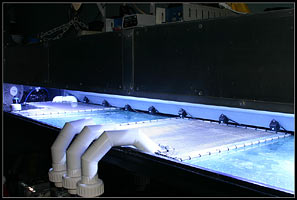
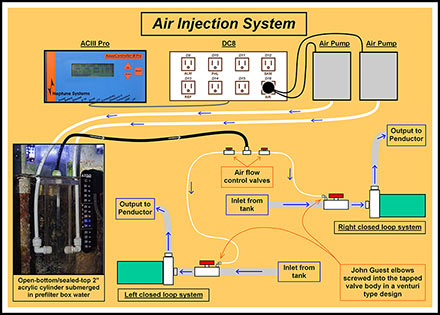
For over a year now, I’ve been injecting air into the closed-loops and their associated Penductors. I originally started this as an experiment but now feel the results are positive and will continue to do so. This takes place every three hours for one minute each, except during the time span between midnight and 6:00 a.m. The benefits, I feel, are added oxygenation, a skimmer effect that moves waste matter to the surface to be extracted via the prefilter boxes, and finally, promotes SPS coral sliming to aid in coral waste expulsion.
The design of this air injection system starts with two air pumps controlled by the AquaController. These feed air to a cylindrical chamber that resides in one of the prefilter boxes just below the water's surface.
At the top of this chamber is a line that shares feed lines that each connect to one orifice at the inlet plumbing side of their respective closed-loop pump. These then pull in air from this line but only when the air pumps fill the cylinder's chamber with air. During the remaining non-air induction times, they simply pull in tank water. This way, no valves are required due to the fact that when the air pumps are off, air can still be vacuumed through.
 |
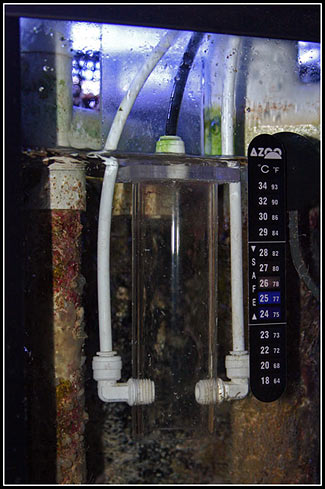
Previously, my drop-in coil chiller was located within the fish room. This was, to a certain extent, self-defeating as it added heated air to the room during the process of cooling the water. There was the option to switch to a plumbed-through type chiller but with weeks of 100°+ F temperatures during the summer months, having the associated plumbing and chiller barrel outdoors didn’t sound like an efficient design. So instead, I decided to locate the existing chiller unit outside and pass its hose and coil through the wall. However, the hose was too short to reach my sump with the titanium coil. This meant I needed to come up with my own barrel that would house the coil and allow water to flow through, making better contact with the coil. This, I feel, is much more efficient than simply placing the coil in the sump with water passing over it. So I designed and built this housing from acrylic, my favorite DIY material. I decided to incorporate two cylinders with an area in between them that would then create a vacuum for the least amount of temperature transfer.
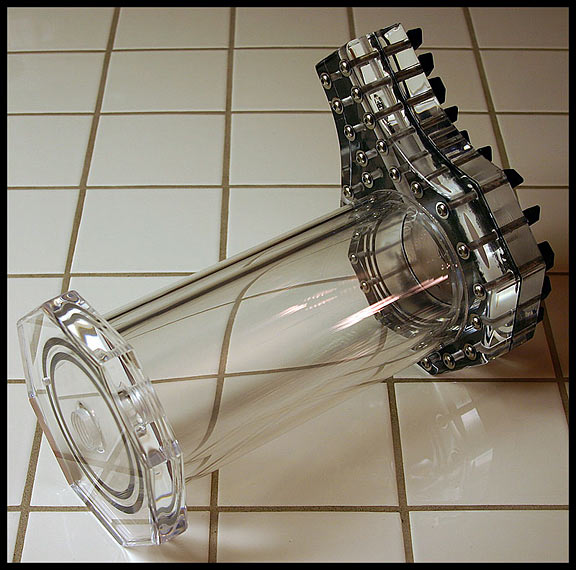 |
Basically, water from the return pump enters through the end of the chamber and down the inside of the coil. Due to the acrylic cover piece I built that is attached to the end of the coil, it then has to travel through the coils for best contact exposure. Water then exits and heads to the sinusoidal valve that feeds directly into the tank. I built this chiller coil housing while I still had the 1/3rd HP chiller, but factored into the design my plans to upgrade to the ½ HP unit I now have. The difference is in the coil tubing's diameter. This involved a simple alteration to the original design.
 |
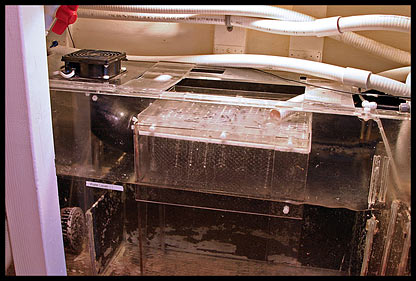
Additionally, in an attempt to both aid in cooling as well as provide the ability to add more kalkwasser to the tank in order to keep up with the high calcium demand, I built and installed an evaporative cooler. This sits in the sump and has a dedicated muffin fan of 120 CFM that is controlled by the AquaController. Essentially, there is a drip tray at the top where tank water is supplied and drips through to a plastic mesh material. Air from the fan passes through this mesh and the dripping water, creating evaporation. In the warmer months, this device has helped to keep the tank at its set temperature. More importantly, a large amount of freshwater evaporates so that the automatic top-off system adds kalkwasser. This has worked well in a system that requires as much calcium supplementation as possible due to the large SPS colonies and clams.
 |
I have also started a 12-gallon JBJ nano tank that is "my wife's" tank. It's primarily used to keep additional zoanthids, but when I purchased the live rock for this tank, there was a Pistol shrimp within so I decided to give it a Yashia goby as a tank mate.
As far as associated equipment, I added an IV bag to drip kalkwasser for evaporation top-off and utilize an old Aquadyne Octopus controller, in conjunction with a heater, to maintain the water's temperature and to monitor the water’s pH. I also added a Sapphire protein skimmer for better oxygenation and filtration. There's a small bag of activated carbon, refreshed periodically and kept in the rear chamber, which is utilized for further water clarity. The two power compact bulbs are both 10,000 Kelvin.
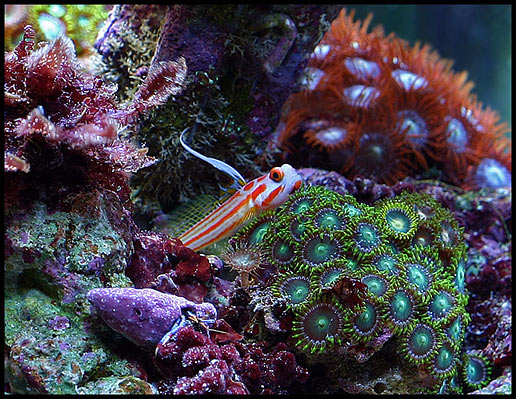
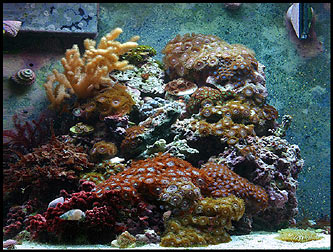
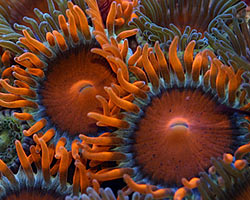
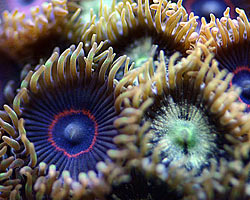
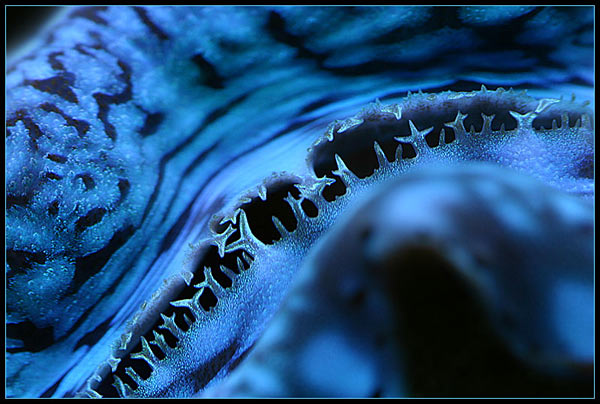
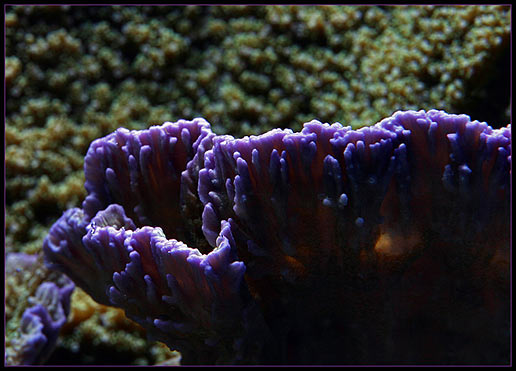
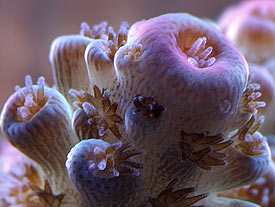
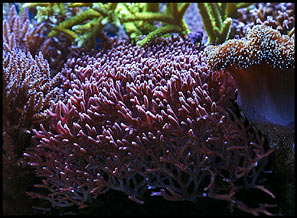
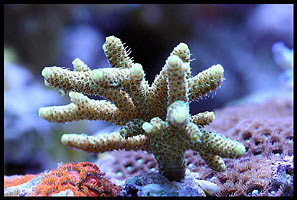
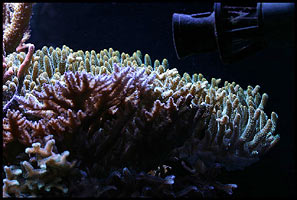
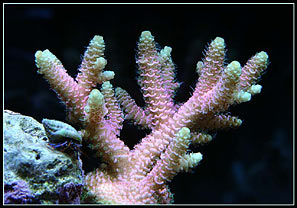
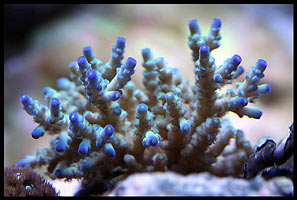
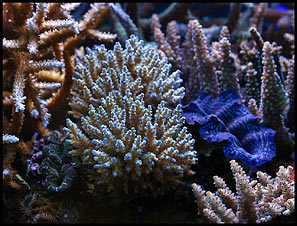
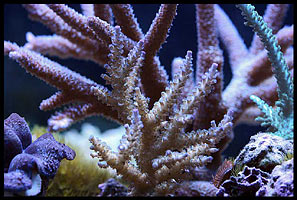
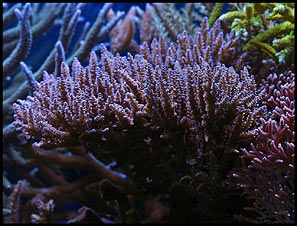
Eye Candy
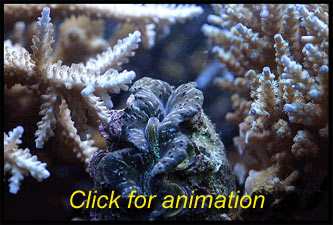
Growth Sequences
November 2005 to today...
To view an animation of coral growth, click the image below.
Conclusion
As previously mentioned, the tank is essentially in auto-pilot mode. All the other maintenance and feeding procedures remain the same as described in the original Tank of the Month article. I do now struggle to keep my water chemistry at respectable levels due to the greater mass of growing corals and clams, but these levels remain at a point that I am comfortable with. If these lower than ideal levels inhibit coral growth to a certain extent, at the current level of coral size to tank size ratio, this is fine with me. Here are my current water chemistry levels…
Specific gravity: 1.026
pH: 8.1-8.4
Calcium: 360 ppm
Alkalinity: 9.0 dKH
Magnesium: 1225 ppm
Nitrate, nitrite & phosphate: no longer tested |
Once again, I’d like to thank everyone at Reef Central for their participation in the ongoing maturation of my tank and for allowing me to share the results through the honor of being selected as Tank of the Month. Having everyone along has been very informative as well as encouraging, and it's been greatly appreciated. It has also been a great pleasure for me to share the building of this reef with everyone.
RC Thread Links
First section - http://www.reefcentral.com/forums/showthre...pagenumber=1
Second section - http://reefcentral.com/forums/showthre...pagenumber=1
Third section with recap - http://reefcentral.com/forums/showthre...pagenumber=1
Weatherson's website: www.weatherson.com
Feel free to comment
or ask questions about my tank in the Tank of the Month thread on Reef Central.
If you'd like
to nominate a tank for Tank of the Month, click here or use the button to the right. |
 |
|