|
Scott's (sidewinder770) and Erin’s (Reefmaiden)
Reef Aquarium
Like most others, I was surprised to be nominated for Tank of the Month. I always look forward to reading each issue of Reefkeeping Magazine, and I enjoy looking at all of the wonderful reef tanks that it features. We never thought we would be nominated, as our tank is still in what we consider to be its infancy, because it is less than two years old. We are glad that we can share our little slice of the ocean with others.
Background
Erin (Reefmaiden on Reef Central), soon to be my wife, was by far the biggest influence and driving motivation behind this tank. She has been active on Reef Central since 2001, and has been a member of the reefing community for well over 10 years. It is with her years of knowledge and experience that this tank has become a success. She started out with a 90-gallon tank and later progressed to a 240-gallon tank, which she reluctantly downsized from in 2003. After the 240-gallon she had a 50-gallon with nothing but SPS… well, nothing else except a lonely green Chromis that somehow managed to evade the net when the 240 was taken down. That green Chromis is still with us today, and now has several tankmates.
I have always been involved with fish, and was even a local fish store employee at Tis’ Tropical Fish in California when I was a junior in high school (they’re now out of business). I’ve had several tanks of various sizes; my previous tank was a 120-gallon freshwater tank. I decided it was time to upgrade to a bigger tank, and wanted to try my hand at a reef tank - a feat I wouldn’t have even tried without Erin’s experience to guide us, as my saltwater experience ended several years ago during the age of undergravel filters, bio balls and acclimating with damsels. Back then no one had ever heard of calcium reactors and protein skimmers.
In October 2004 we decided to plan our new reef tank. At first we were just going to upgrade my current 120 to a reef tank but, as you can tell, that plan was thrown out the window pretty quickly. Our first thought after that was a 180, then a 240 and, needless to say, it didn’t end until we arrived at the 375-gallon tank you see today. Without a doubt I am the “fish person” and Erin is the “SPS person” - the trick was providing an environment big enough for both the fish and corals to thrive in.
System Design
Now that we knew what we wanted and how big a tank we wanted, it was time for the fun part - making it all work the best we could. We knew this wasn’t going to be an “off the shelf” system, but we had no idea it would take so long to put together. From December to February we planned out every aspect of the system, from the cabinetry to the electrical system, and it seemed like every piece was “a bit crazy” and “planned to the hilt,” all rolled into one. Our friends said we were crazy when we told them our design ideas, but we decided to use them anyway. Once we had everything planned out we started ordering parts and putting the pieces together - a seven month project from the time the first part was ordered to actually putting water into the tank.
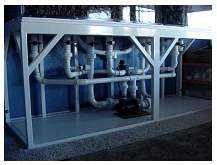
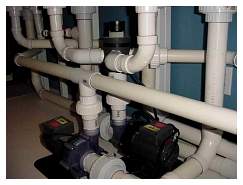
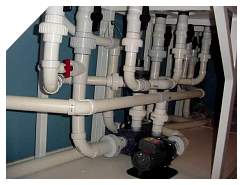
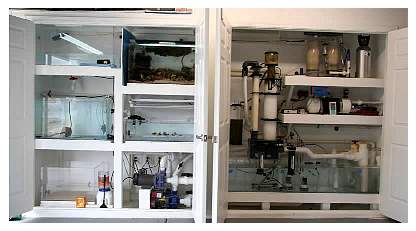
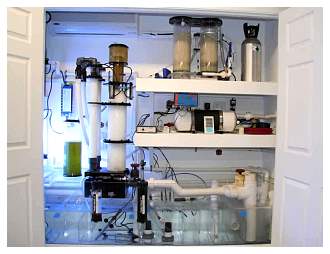
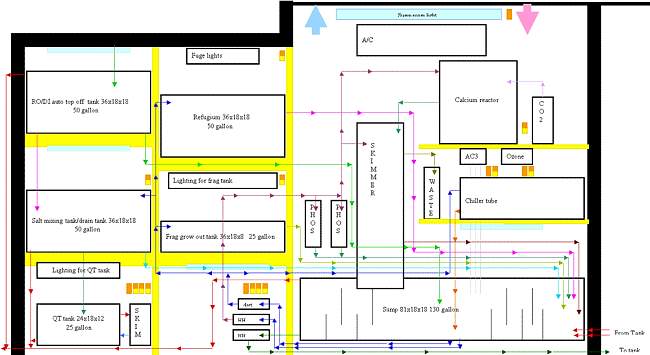
One of my major concerns was keeping the noise, heat and smell out of the house, and this made the dedicated fish room a necessity. We also wanted enough room for all the support equipment in our plan, and plenty of room to work on everything. What we ended up with is a 14’ long, 8’ tall and 2’ wide “sump room” built into the garage, which houses all of the support equipment except the display tank lighting and two closed-loop pumps in the stand. Locating this in the garage made perfect sense and afforded us all the room and space we needed. It also came with its share of hurdles, though. Because we live in Arizona and the garage can reach 125°F+ in the summer, one of the major factors in the system’s design was cooling the water and moving it approximately 70’ feet from the display tank and back. The plumbing to and from the display tank runs through the wall behind the tank, behind the master bath tub, out the side of the house, heads underground (under the sidewalk twice) and into the sump room located in the garage.
 |
 |
 |
Another reason it was such a long project is that we made everything ourselves, except the skimmer and the display tank. We made our own 140-gallon sump, 35-gallon coral fragment tank, 50-gallon refugium, 50-gallon RO/DI holding tank, 50-gallon mixing tank, and the calcium reactor. We had to re-invent the wheel for the type of DIY chillers we wanted. We custom designed and helped build the steel stand, made our own cabinetry from hickory, made our own “light racks” for the coral fragment and display tanks, planned and assembled the maze of plumbing, installed our own electrical sub-panel and outlets, and everything in between.
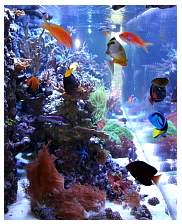
The Display
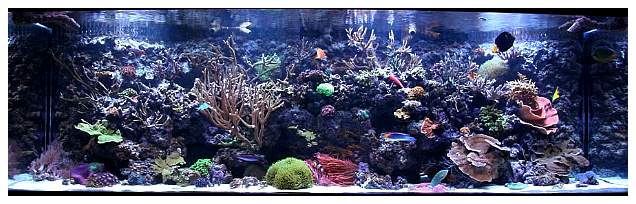
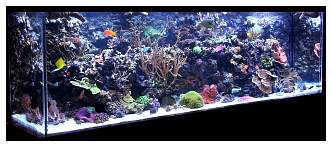
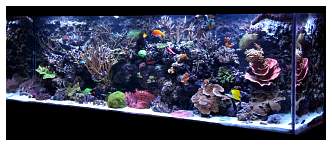
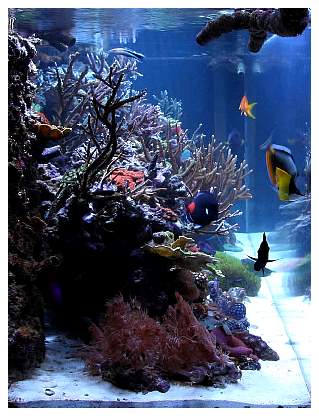
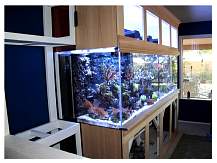
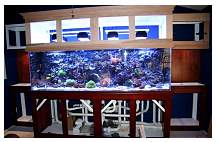
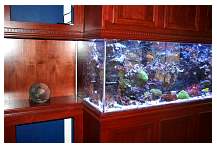
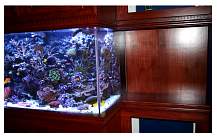
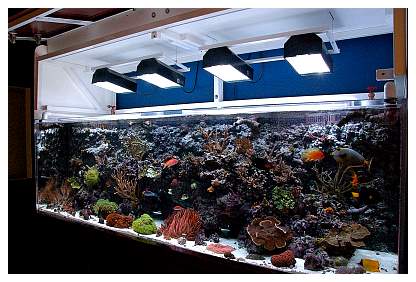
The display tank is a 375-gallon, 96” x 30” x 30” Tenecor acrylic tank located in our family room, providing perfect viewing from the living room, family room (now affectionately called the fish room), dining room, kitchen and even the back patio.
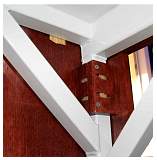
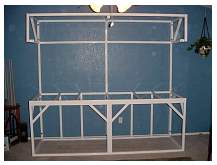
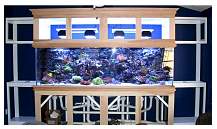
The display tank rests on a powder-coated steel frame that we designed and built with the help of fellow reefkeeper Keith Jackson. Incorporated into the stand is a matching powder-coated steel canopy frame, which bolts to the stand. This allows the entire framework to be freestanding and require no attachment to the wall behind it. We also built two side cabinets (upper and lower) out of wood to store miscellaneous supplies. The steel frame and wood side cabinets are veneered with solid hickory. All the cabinetry work is attached to the steel frame in such a way that no screws or holes were drilled into the steel stand, and the panels can easily be removed (see photo right). We custom made everything from the doors to the face frames. We debated over various stain colors and ended up custom-blending our own, which is a dark cherry-like finish.
One of the fun parts about making the canopy was incorporating a design that would allow full access above the tank for maintenance and cleaning. Simple things such as feeding are accomplished in the usual way: by opening one of the four doors. But if full access is required, the entire canopy’s front can lift up with the use of a linear actuator, which not only lifts the entire front of the canopy, it also lifts our light racks up and out of the way. Click here for a video of the canopy in motion.
 |
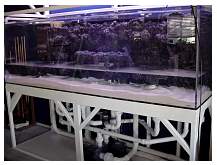
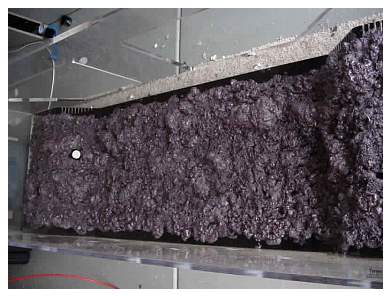
An interesting feature that we carried over from our previous 50-gallon tank was the use of spray pond foam (seen in the construction photo below). We used the foam on the tank’s entire back wall, as well as on the PVC rock structures, which not only provide rock support, keeping the live rock off the sand, but also hide the PVC plumbing used for one of the closed loops. Using these structures eliminated a lot of wasted live rock, which would normally be below the sand. I get a lot of questions regarding the pond foam and how well it has held up. I would use it again if I had to do it over. Just like base rock, the foam gets completely encrusted with coralline and other organisms; in fact, most people can’t tell the difference between the live rock and the foam.
Circulation
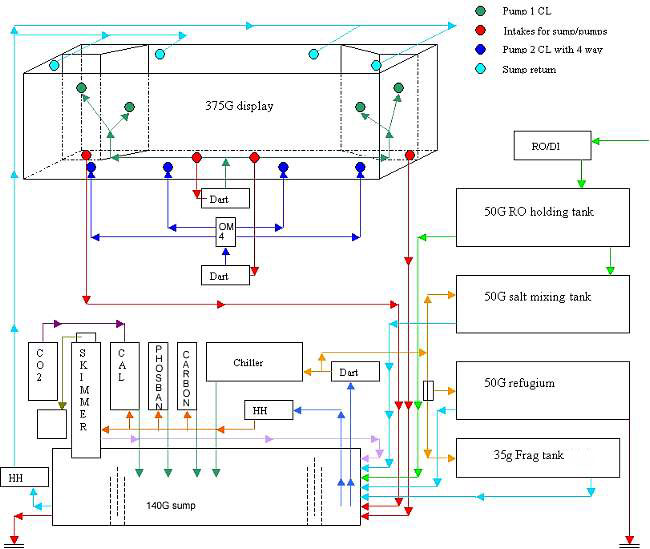
We ended up with about 400’ of PVC pipe from ¾” to 2”, five support tanks, numerous pieces of support equipment that needed water supply/discharge lines, and 550 gallons of water that needed to be pushed around in just the right amount to just the right places. To accomplish all this water movement we used five Sequence pumps: a Hammerhead to feed the skimmer, a Barracuda to get the water from the sump to the display tank, one Dart to feed the support tanks and equipment in the garage and two Darts for closed-loops on the display tank. We also use a Mag5 to circulate water in the mixing tank and a Mag3 to circulate water in the calcium reactor. All told, after head loss we are pumping 17,000+ gph of water.
 |
One of our biggest concerns was to avoid having a bunch of “equipment” in the tank. We wanted to look at fish and corals - not big pumps hanging off the sides of the tank. That is why we decided on closed-loops for circulation instead of other options, such as Tunze powerheads or the like. Our closed-loops exit through a total of 28 loc line fittings, and you’d be hard pressed to see more than six because we incorporated them into the PVC rock structures and hid them within the rock itself. One of these closed-loops alternates its flow by the use of an Oceans Motion 4-way oscillating device. The sump return’s loc line fittings were harder to conceal because of the need to place them at the tank’s top for siphon protection, but in total there are eight loc line fittings for those, and they don’t obstruct the view much at all.
Filtration
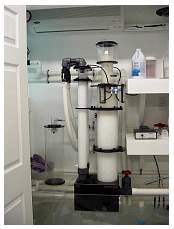
Primary filtration is done by a Barr Aquatic SK5220 dual Beckett skimmer. A Hammerhead pump supplies the skimmer with ~ 4200gph. We also run a Red Sea 200mg ozone generator, which feeds directly into each of the Beckett injectors. We run carbon filtration with a Phosban reactor, and a second Phosban reactor removes phosphate.
Another important aspect of filtration occurs before the water even enters the tank. We use a five stage RO/DI unit with dual DI resin cartridges to supply the system with 0 TDS water at a rate of about 70gpd. This water is held in a 50-gallon reservoir to automatically top-off the water that evaporates.
Lighting
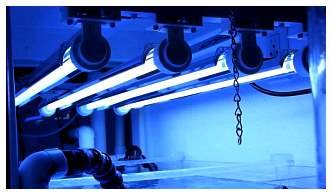
Our display lighting is provided by four 250-watt double-ended PFO pendants with 14K Phoenix bulbs. Each pendant is powered by an Icecap HQI ballast and is housed in a ballast box that sits on top of the canopy. Additionally, we are hoping to add four T5 fixtures in the near future for supplemental lighting. Our lights are on a sunrise/sunset schedule with the first light (far left in our case) coming on first, followed by the second, third and fourth in 15 minute increments. Sunset occurs in reverse order and the lights remain on for about 10 hours per day, coming on around noon and going off around 10pm.
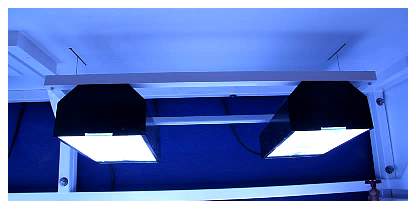
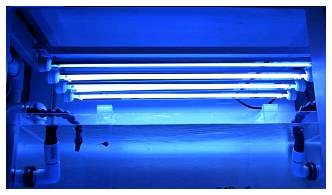
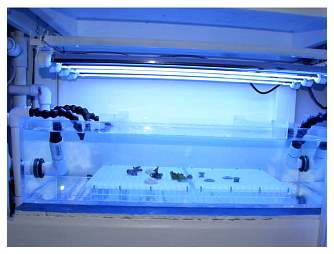
The coral fragment tank's lighting (shown below) consists of four 36” T5 bulbs powered by an Icecap 660 ballast, with Icecap retrofit reflectors. This lighting is set on a reverse light schedule from the display tank to help mitigate daily pH swings. The refugium’s lighting is provided by dual 55-watt power compact bulbs that stay on continuously.
Temperature Control
Keeping the beast cool was a big consideration because outside temperatures exceed 100°F for several months of the year. Heating, however, is not a huge problem because our winters are mild. We have three 300-watt titanium heaters. Most of the time two heaters are enough to keep the water heated in the winter, but occasionally the third is needed. We didn’t like the idea of using fans to cool because they cause too much evaporation and, so far, this has worked out well for us. The system’s cooling needs are provided by five systems in total - two chillers, an A/C unit for the garage, an evaporative cooler for the house and, of course, the house's air conditioning system. If needed, the garage A/C can be used solely to cool the sump room simply by closing that room’s doors. Most of the time this keeps the house below 80°F, and one chiller is adequate to keep things in check. When outside temps get above 105°F (over 125°F in the garage), though, the second chiller is activated a few times a day to help meet cooling needs.
The chillers are a DIY design using mini-split A/C systems and one-ton titanium chiller barrels designed for lobster tanks. These are much more cost effective than traditional chillers and are much more design friendly because they keep the heat outside the garage. These chillers use ~ 750-watts of power when running, which is much less than comparable chillers.
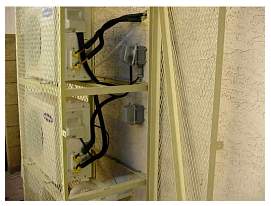
The three A/C compressors (two chillers and the garage A/C) are housed in a DIY steel cage to protect them (photo left), as well as the water lines going to the garage. This puts them all in a nice, neat central location on the other side of the garage wall. The added benefit of creating the cage was that it was a great justification for purchasing a new welder.
The Brains
While the mastermind and brains behind this whole system has to be Erin, the operation's day to day brains undoubtedly is the Aquacontroller. In my mind this setup wouldn’t be nearly as enjoyable without the Aquacontroller III Pro. While going completely automated has its drawbacks, it has made this hobby much more enjoyable and less stressful for us. This unit controls everything from the chillers and heaters to ozone injection, CO2 and lighting. I can view the tank's stats from anywhere I have a computer, and control things as well. It has allowed me to keep graphs of statistics such as temperatures and pH. The thought of having a bunch of separate timers and controllers that I’d have to monitor does not sound inviting to me. And, if something gets out of whack, I get an e-mail sent to my cell phone - how much nicer can that be?
Feeding, Supplements & Parameters
We feed our fish twice each day - first in the afternoon with Dainichi pellets, and then in the evening with a homemade fish mash that contains about 20 ingredients. We make our homemade food about once per year, and then split it into separate portions that last about two weeks in vacuum-sealed bags. We also add Phyto Feast and Arctipods a few times per week, in addition to the normal daily feedings.
For calcium and alkalinity supplementation we use Randy Holmes-Farley’s method. We use magnesium chloride for magnesium supplementation and we use Reef Crystals salt for our 40-gallon biweekly water changes. Additionally, the calcium reactor helps to maintain calcium and alkalinity levels. Other than that, we don’t add much in the way of supplements.
We try to keep our parameters as close as possible to the following:
- SG - 1.025
- Mg - 1300ppm
- Ca - 450ppm
- Alk - 9.0-10.0dKh
- Nitrates - < 4ppm
- Temp - 78.4 – 79.4°F (winter) and 79.2 – 80.1°F (summer)
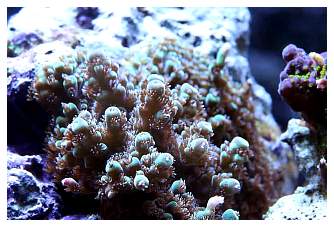
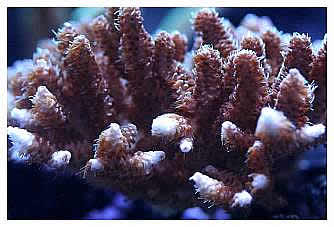
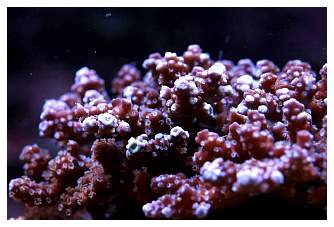
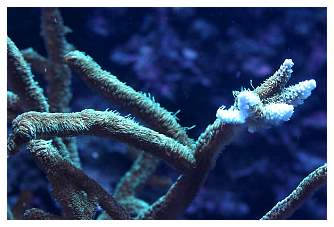
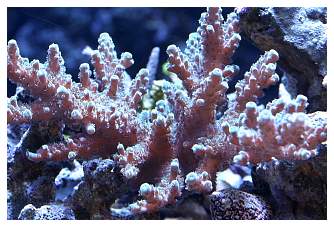
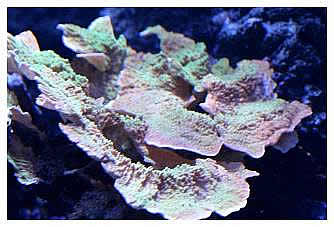
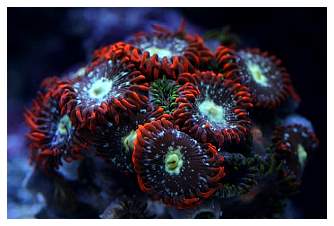
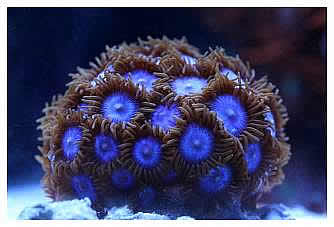
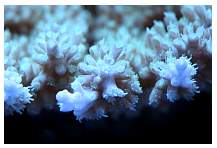
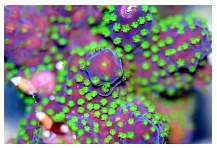
Corals
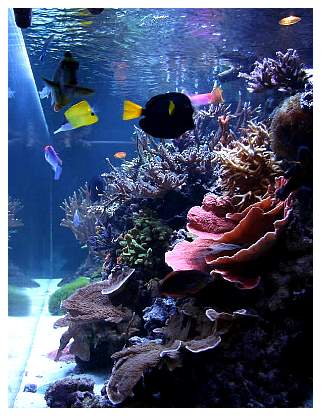
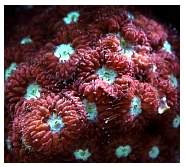
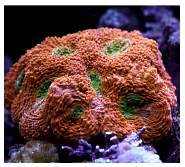
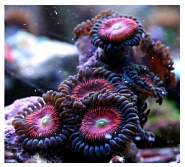
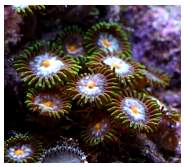
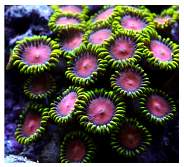
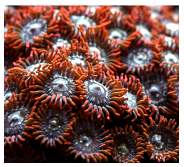
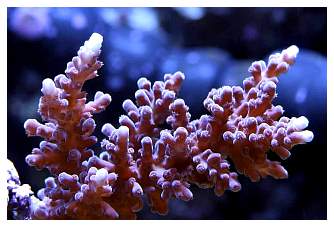
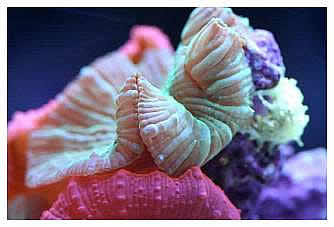
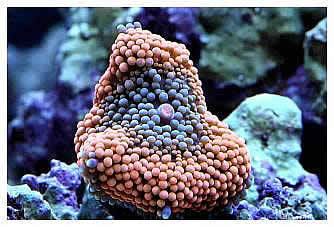
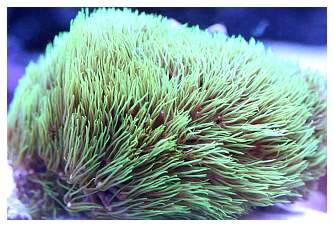
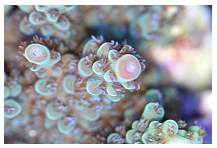
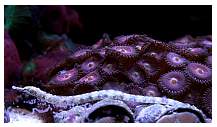
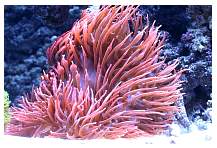
The tank is mostly SPS dominated but also houses several different types of zoanthids. It also contains a few large-polyped stony corals, including a hammer, frogspawn, torch, candy canes, and a few Echinophyllia sp. The system is also home to a couple of invertebrates such as our rose bubble-tipped anemone and quite a few dozen mini carpet anemones (Stichodactyla tapetum). One of our favorite and most beautiful inhabitants is the rose bubble-tipped anemone, which we were fortunate enough to acquire as a clone of the anemone originally housed in the old 240-gallon system. We don’t put too much emphasis on knowing the scientific names of all of the corals in our system, but rather acquire corals that are to our liking and are captive-raised, to do our part to limit the number of coral colonies harvested from the world’s oceans.
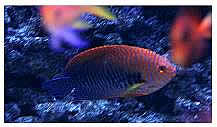
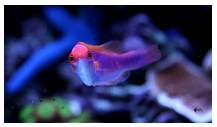
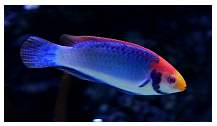
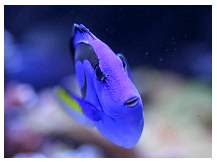
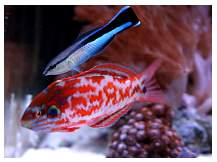
Fish
In my opinion the best part of the whole system, and the reason I’ve been in this hobby for so many years, is the joy I get from watching fish. The exciting part of this system is that I can keep a large number, and a wide variety, of fish. We have quite an array of fish, and picking them out has been a very enjoyable experience. Here’s our fish list:
- Achilles tang
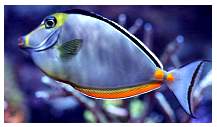
- Naso tang
- Purple tang
- Kole tang
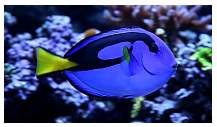
- Hippo tang
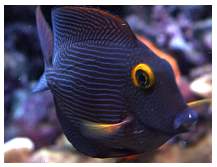
- Chevron tang
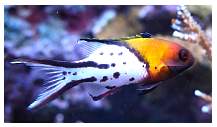
- Lyretail hogfish
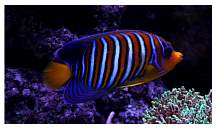
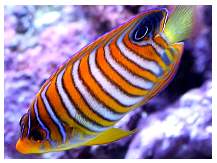
- Regal angel
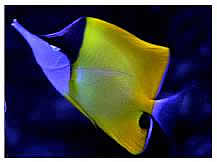
- Yellow Longnose butterfly
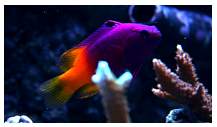
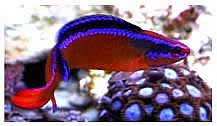
- Arabian dottyback
- Choati wrasse
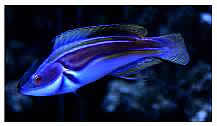
- Labouti wrasse
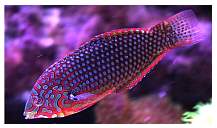
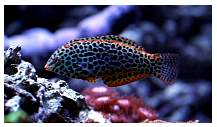
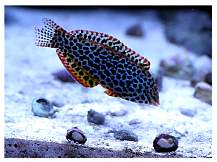
- Ornate Leopard wrasse
|
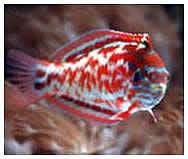
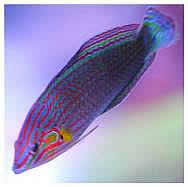
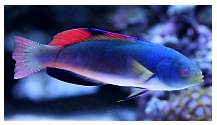
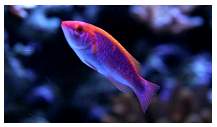
- Scott’s fairy wrasse
- Melanurus wrasse
- Solarensis wrasse
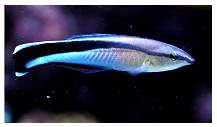
- Cleaner wrasse
- Possum wrasse
- Leopard wrasse
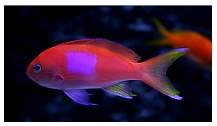
- ♂ + ♀ Squareback Anthias
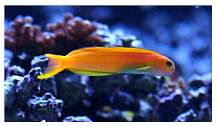
- Midas blenny
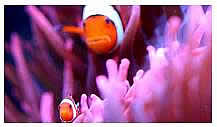
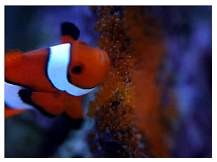
- ♂ + ♀ Percula clownfish
- Dragonface pipefish
- Green Chromis - 3
- Lawnmower blenny
- Royal gramma
- Firefish
|
|
Invertebrates
- 4 serpent stars
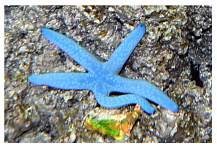
- 1 blue Linckia starfish
- 2 fire shrimp
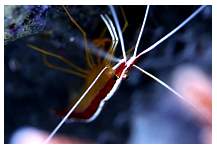
- 2 cleaner shrimp
- 1 nudibranch
- rose anemone
- dozens of assorted snails
Acknowledgements
The success of our system and the health of its inhabitants are solely our responsibility, and we try to offer them the best habitat possible. We all must realize that, in many cases, these creatures have been taken from their natural environment, and it is our obligation to provide for them as well as we can. We hope we have done our part to accomplish that. Reef Central has been a continuing source of information, and I have learned a lot by reading all I can. Our local community of reefkeepers has been a great source of knowledge and help, and we have made quite a few friends because of it. We hope that we can give back to the community and pass on what we have learned. If you have any questions or would like to see additional pictures or find out some additional information, please visit our website at http://www.azreef.com, or our build thread on Reef Central.
Feel free to comment
or ask questions about my tank in the Tank of the Month thread on Reef Central.
|
If you'd like
to nominate a tank for Tank of the Month, click here
or use the button to the right. |
 |
|