|
How
to Harvest and Feed Baby
Brine Shrimp to Your Tank
|
Feeding brine shrimp to your
livestock has been compared to feeding potato chips
to your guests for dinner. It isn't nutritious, and
provides hardly any proteins at all. If you raise brine
shrimp from eggs, however, and harvest them while their
yolk sac is still attached, you are providing something
worthwhile. To improve their nutritional value, add
some live phytoplankton to the hatchery about six hours
before harvesting them. The shrimp will eat the phytoplankton,
a process called "gut-loading." Feeding gut-loaded
baby brine shrimp to your tank is an excellent practice
if there are smaller fish or possibly young fry that
need live foods. Fish at least two weeks old, and possibly
seahorses, would certainly be able to eat this live
food.
How much money is invested in this procedure? Not much!
An air pump, a gate valve, some airline tubing, the
hatchery stations, and some brine shrimp eggs are all
the items this venture requires. Two-liter bottles are
free, as soon as you finish your favorite beverage.
Eventually, you'll need to replace or repair the air
pump, and probably replace the hatching stations if
they break. I accidentally broke the nipple inside one
of my hatching stations, but I reamed out the area with
a small drill bit, inserted a short piece of rigid airline
tubing, and used Weld-On #3 to bond the joint. Since
then, it's worked perfectly.
Does it take a lot of time to do this? No. Rinsing
out the hatching station, putting it back into position,
adding water and eggs takes about two minutes, tops.
Harvesting takes about 30 seconds, after the hatched
brine shrimp have had time to settle. Please follow
along with the steps below, and see if it is something
you'd like to try for your own aquarium's needs.
|
|
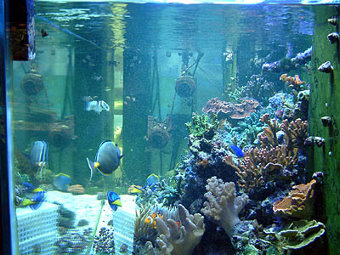
Growing baby brine shrimp allows me to feed my smaller
fish in a reef tank that contains large voracious tangs.
Every day, I add one batch to the tank while the pumps
are off. The tangs swim through the tiny bits of live
food, while the little fish also grab a meal.
Hatching Artemia is easy, and doesn't cost much. The recipe
is available on my site. Two hatching stations allow
a new batch to be available daily.
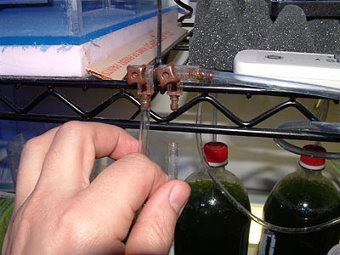
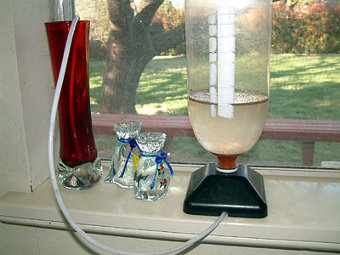
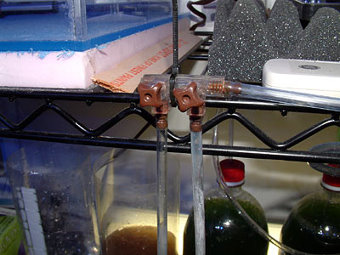
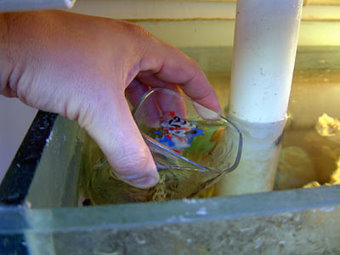
To use today's batch, I first disconnect the airline
that goes to the hatchery, which has been bubbling for
48 hours. The valves are set to a very gentle bubbling
to keep the water and eggs tumbling.
As I carry the hatchery, I keep the disconnected tubing higher than the
hatchery to avoid spilling any water, since it is connected at the base.
|
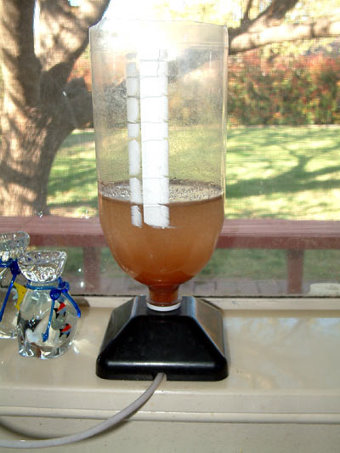
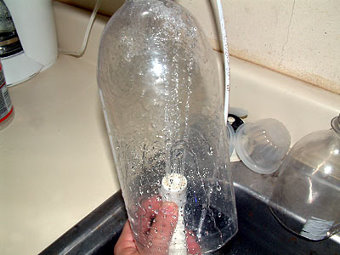
Very gingerly, I place the hatchery on the window sill
over my sink. I do not want to disturb the floating
shells on the top, or any that may be sticking to the
walls of the hatchery, as these are not to be added
to the tank.
|
|
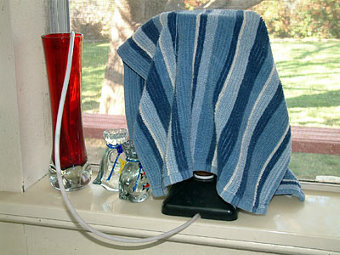
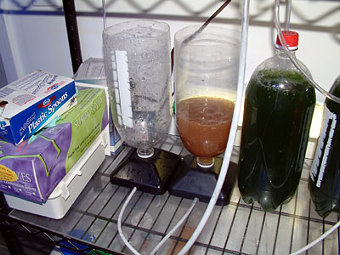
I cover the hatchery for about 20 minutes
because the darkness helps get the hatched Artemia
to settle, since they are attracted to light.
Note the tubing is inserted into that
red vase, merely to avoid any water siphoning out the
base. I used to hang the tubing over a nearby hook,
but the vase was handy and never has accidentally let
go of the tubing.
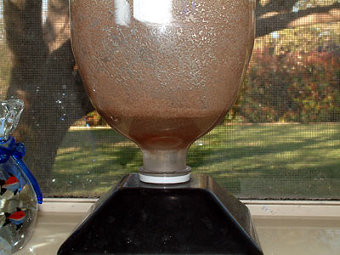
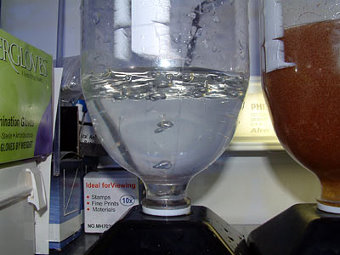
You may wonder why I use such a tall bottle
for less than three cups of fluid. The added height
avoids any spatter in the hatching area as the bubbles
burst throughout the 48-hour period. This works well.
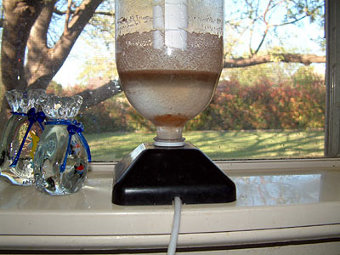
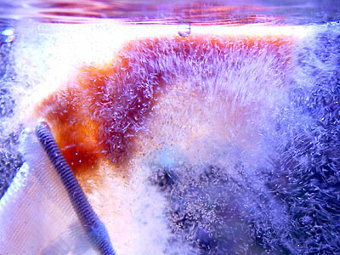
The reason the Artemia appear bright orange is because
of their attached yolk sac. Once this has been shed and the brine shrimp
grow larger, they take on a brownish coloration.
|
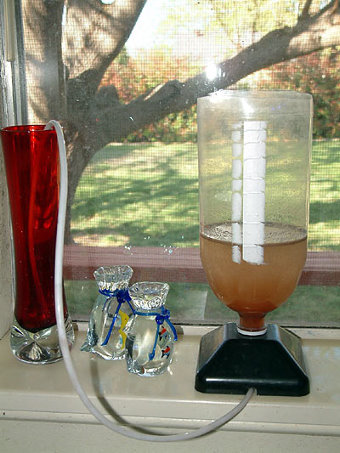
The Artemia are starting to settle into the neck
of the bottle.
|
|
 Now that all the brine shrimp have settled in the base....
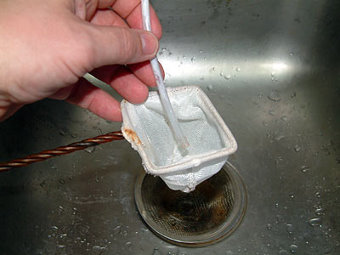
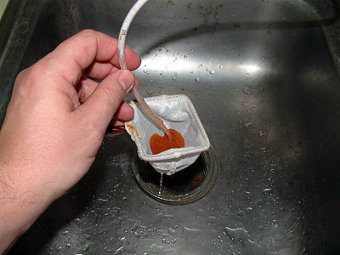
I place the end of the tubing into a
brine shrimp net over the sink.
|
Gravity drains the hatched brine shrimp into the net. I watch the contents
of the hatchery closely to avoid draining egg casings into the collected
live food. |
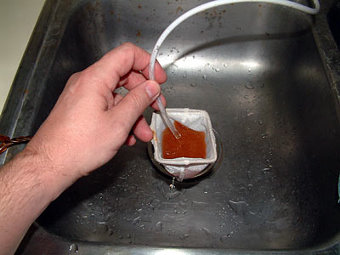
Almost all of the live Artemia
are gone. Just a hint of orange shows the brine shrimp
still stuck to the area of the bottleneck. To get
the last of them, thump the side of the neck once
or twice.
|
The net drips out the polluted water.
|
|
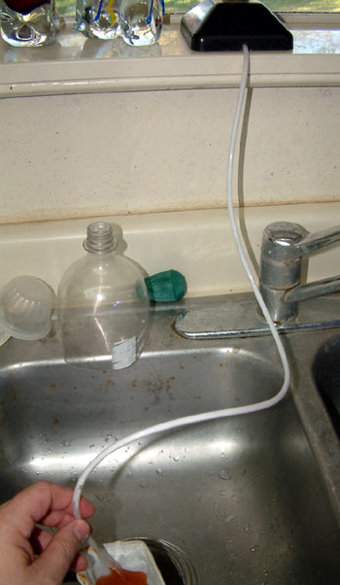
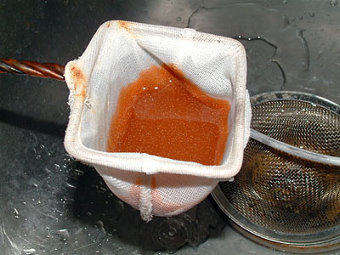
The egg casings stick to the wall of the bottle as the water drains out.
|
Time to stop. If I continue, all of the waste (egg casings) will pour
down the tubing, and clog the nozzle in the hatchery. |
|
The net is set to the side of the sink to drain completely of any fluids.
I use this time to clean out the hatchery for the next batch.
|
Inverting the hatchery, I use the spray nozzle to rinse out the egg casings.
Then it is wiped out under water with my hand. Occasionally, I'll rinse
the bottle with bleach and water, or just get a new two-liter bottle.
Check to make sure the nozzle is clean.
|
|

The hatched brine shrimp are ready to
add to the tank. Some aquarists recommend rinsing the
food with fresh water, but I never have.
|

Turn off your return pump to keep the live food in the display. I see
no reason to feed the Aiptasia in the overflows and sump.
|
|
Once the tank stops draining water to the sump, the net is lowered into
the display and the food is released. The Tunze pumps do a great job of
dispersing the food throughout the aquarium.
|
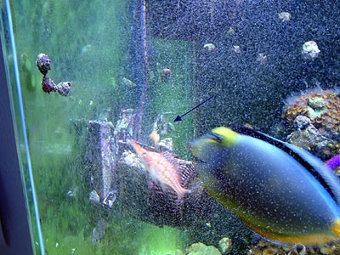
The fish love to bite right into the food ball during the first few seconds.
You can see a little bit of one ball where the arrow points (above). By
the time my camera had focused on it, most of it had dispersed.
|
|
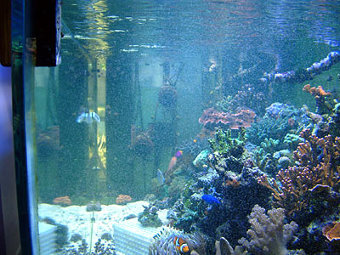
The tank, within one minute of adding the food.
|
Ten minutes later.
|
|
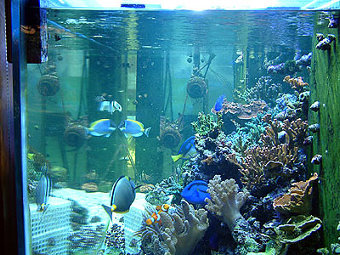
Twenty minutes later.
|

The return pump is restarted.
|
|
Time to make the next batch. Reconnect the airline tubing.
|
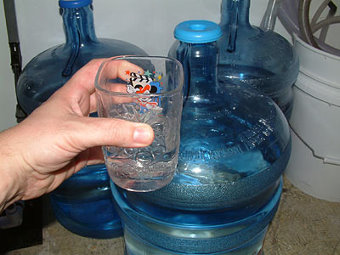
Position the empty hatchery. I always
put the newest batch on the left, to avoid confusion.
Tomorrow's batch is on the right.
|
|
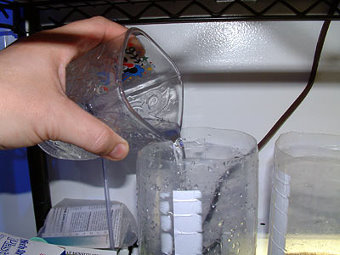
Get two cups of tank water. This glass holds two cups,
by the way.
|
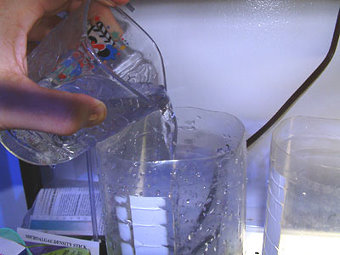
Add it to the hatchery.
|
|
Bubbles rising through the tank water. |
Get half a cup of RO water.
|
|
Add the RO water.
|
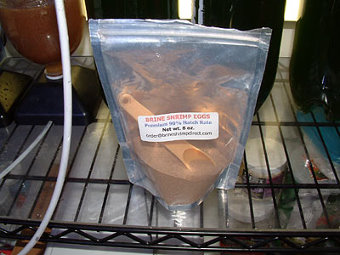
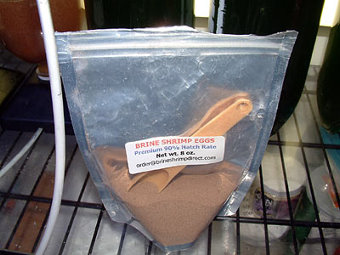
I use brine shrimp eggs from BrineShrimpDirect. This
bag contains their 90% hatch rate, which they refer
to as Premium Hatch Rate.
|
|
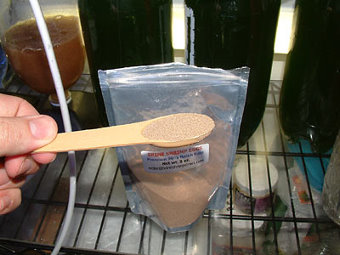
I use one level teaspoon of eggs per batch.
|
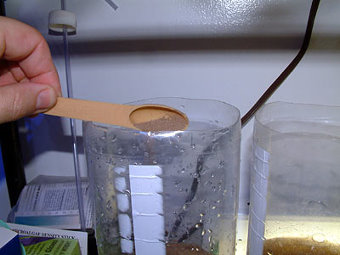
Add that to the hatchery. Brine shrimp don't need
light to hatch, but the water should be 81 - 82°F,
so I place the hatcheries near the same light I use
to grow phytoplankton. The temperature remains stable
in the fish room. The light remains on 16 hours per
day.
|
|
I keep the measuring spoon in the container, and seal it well to avoid
letting humidity spoil the product. If you buy in bulk, seal the majority
in a ziplock bag and store it in the refrigerator, and keep what's needed
for daily use separate and handy.
|

This batch (on the left) will be ready for harvesting in 48 hours. You
may not need to hatch as much as I do. Use 1/2 tsp. or less, whatever
works best for your specific needs.
|
If you have any questions about this article, please visit
my author forum
on Reef Central.
|


