|
|
|
Mike O'Brien's (mojoreef) Reef Aquarium
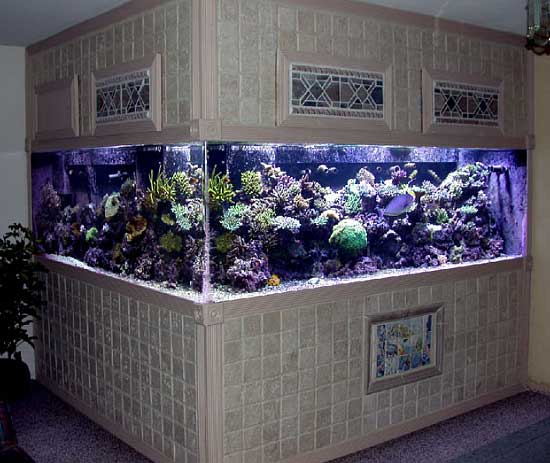
Introduction & Background I would first like to thank the folks at Reef Central and Reefkeeping Magazine for choosing my tank as the Tank of the Month. With all the unbelievable tanks out there to choose from, I am truly honored to be selected. I have been involved with keeping an aquarium of one kind or another for the past few decades, and have progressed from fish-only to soft corals and have eventually ended up with a mostly SPS-type of tank. My first marine fish-only tank was started about 19 years ago, keeping bleached out coral heads with a purple substrate for decor and the meanest fish I could find. As this tank matured and I began scuba diving, I started to collect my own corals such as mushrooms and polyps. I even remember collecting dead coral heads to use as decoration. In 1987, I began to pursue some of the harder-to-keep species of fish and corals, and had a fairly good success rate at keeping these critters alive. For many years, I followed the European system of aquarium keeping, as there was not much available in North America in the way of reefkeeping knowledge (or at least what I had access to). As the years passed by, I took several marine biology courses attempting to educate myself on the corals and creatures I was keeping, and to improve my husbandry skills. Well, all this has led me to where I am today. I am now what one could consider a person who has taken this hobby way too far… or just plain crazy, as my wife calls me. Since starting in the hobby I have kept dozens of tanks and have gone up and down in their sizes and number, but about nine years ago my wife gave me an ultimatum and told me that from this point on I was restricted to just one. However, luckily for me, she made the mistake of not saying how big it could be! Not too long after that, I was offered the option of creating a tank of whatever size and shape I desired from a good friend working at Innovative Aquarium Products. So, being the fanatic that I am, I built this one. Many months of thought and years of experience went into its design to make it one I could be proud of. This is how it came out…
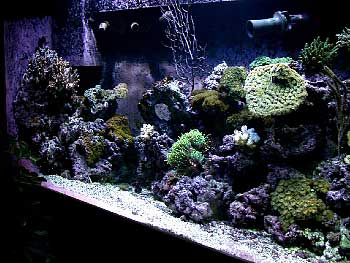
Main Display The tank is an L-shaped, 650-gallon display, custom-made by Innovative Aquarium Products, consisting of two eight-foot long viewing panes. The front-to-back depth on the left side is two feet and the right side is three feet, with both sides being 30" high. The tank is constructed of ¾" clear Plexiglas, but with black Plexiglas used on both the back and at each end. I elected to go with Euro-style bracing around the top edge that is 1 ½" thick, with three 11" wide cross braces for added lateral support. The tank has three main overflow boxes (10" deep x 6" x10") and they are all connected by an overflow trough (4" x 4") that spans the entire length of the back inside wall of the tank. This new tank replaced a perfectly good, but too-small-for-a-crazy-reefkeeper, 300-gallon tank that had been in operation for about two years.
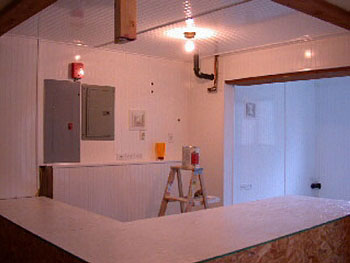
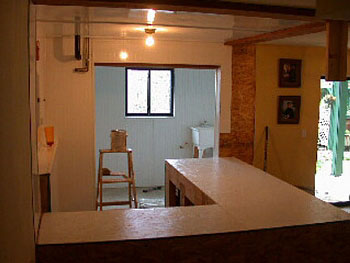
Two pictures taking during construction showing the area
that will house the tank and the workrooms behind the tank.
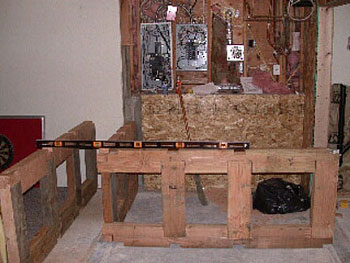
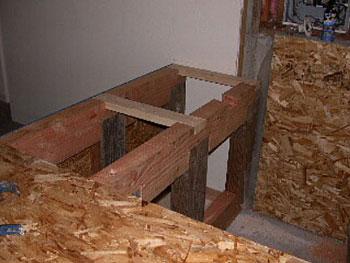
The stand is built out of 6 x10's, using mortice and tenon style joints, and fastened using 8" lags.
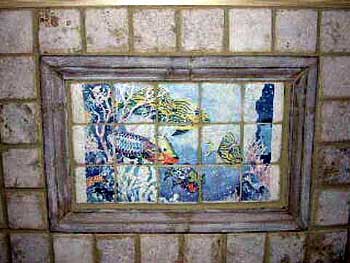
The skin of the stand and the top of the tank is finished with tumbled marble tiles and wood trim; additionally, a small section of decorative hand-painted tiles (see below) is located on the front. Four hatchways (36" x 15") are built-in above the tank for easy access from the front.
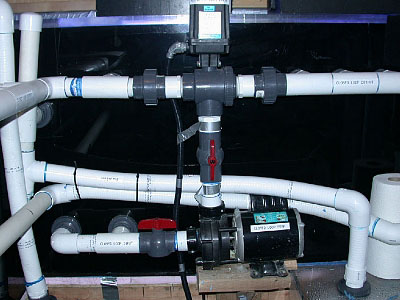
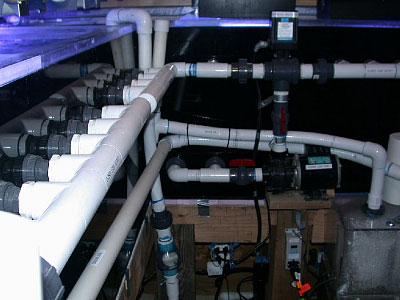
Circulation Since I believe in providing vigorous water flow, a lot of time and effort went into building and planning the plumbing system for the tank. The main return is powered by an Ampmaster 3000 and feeds back into the tank via a 1 ½" spray bar located behind the rocks. This keeps any and all detritus from settling behind, or under, the rocks. Additionally, there are two separate closed-loop systems, each powered by a 5000 GPH Dolphin pump with its intake plumbed into two 1 ½" bulkheads. From these pumps the water is sent to a 3-way Hayward motorized ball valve which allows the flow to be directed between two different banks of returns. On each side of this valve are six ¾" inputs into the tank, capped with adjustable LocLine™ on the inside. This plumbing scheme has allowed four zones of circulation to be created within the tank. At any given time two of the zones are putting out chaotic flow while the other two are in a slow and even flow mode. Roughly every five to seven minutes, the Hayward valve turns over and reverses the direction of flow, simulating the effect of a wave crashing down for the first setting, followed by a calm and even flow when the valves reverse. Eductors are used on five of the LocLine™ returns and this increases the water flow coming out and into the tank by roughly five times. Since there is a combined output of 13,000 gallons considering all of the pumps employed, and the use of the eductors, a rough guess on the amount of turnover in the system would be somewhere around 35,000 gph.
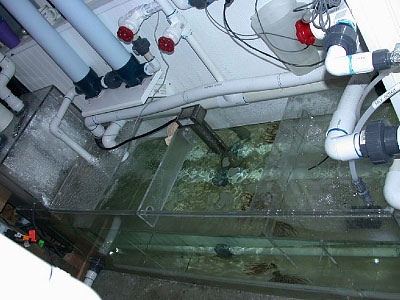
A couple of shots of the closed-loop system showing the
motorized ball
valve (top) and the closed returns (bottom). Click on the picture to see a larger version with each item labeled.
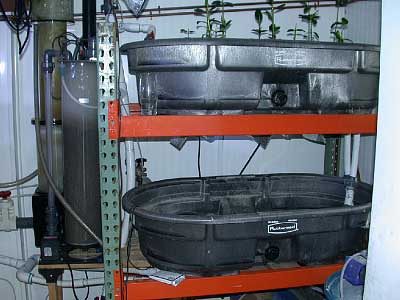
Filtration For filtration, the system uses three separate tanks: an acrylic sump (72" L x 20" W x 25" D), and two 65-gallon Rubbermaid stock tanks (approximately 48" L x 30" W x 10" D), which are mounted in a rack system. The top refugium has one inch of fine sand where about 30 mangrove trees are grown to aid nutrient export. This tank has never been lit directly, but gets incidental light from the main tank. From here, the water then bleeds down to the second Rubbermaid tub, and is then directed back to the acrylic sump. The second Rubbermaid tank is used a coral fragment grow-out area.
The mangrove refugium (top) and the fragment grow-out tub
(bottom).
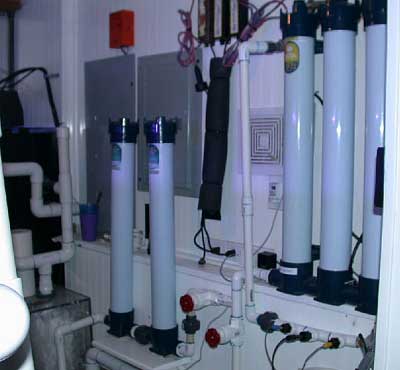
The system was designed and plumbed based on the idea of providing a random alternating current that would be strong enough to keep the detritus and dissolved organic compounds suspended in the water column, thereby allowing them to be exported from the main tank via the overflow and filtration systems (skimmer, mangrove refugium, UV sterilizers, carbon filters and the phosphate filter). As described above, the overflow system pulls the whole top of the water column off at one time and leaves no dead spots, thus completely eliminating any surface film build-up.
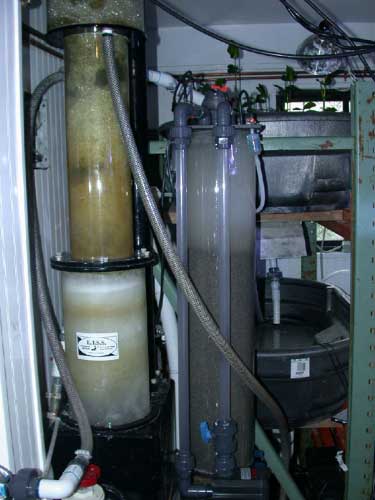
The two chambers on the left are the carbon and phosphate
filters.
The three on the right are the UV sterilizers. From these overflow boxes, water flows into the first chamber of the acrylic sump, where it is fed into a twin tower ETSS 2500 skimmer powered by a ½ hp RK2 pump. Just prior to the skimmer towers, the input pipe is branched off into two more one-inch lines. One line diverts water into the two Rubbermaid stock tanks, with the other line running outside the house to a ¾ hp chiller, after passing through a chamber containing the inline probes connected to the Octopus 3000 controller. After the cooled water exits the chiller, it's routed back through three 40-watt Rainbow Lifeguard UV sterilizers, a 37" carbon filter and another 37" phosphate filter, finally returning back to the main acrylic sump. The carbon and phosphate filters are plumbed so that they can be bypassed, or put into operation, as needed.
The main sump. Click on the picture to see a larger version
with each item labeled. For biological filtration the main display tank contains just under 1000 lbs. of live rock, resting on the PVC spraybar structure and consisting of assorted pieces collected over the last 10 years from Fiji, the Marshall Islands and Tonga, as well as a few more types. When initially setting up the tank, the rock was aquascaped in a dry tank and then filled with natural sea water obtained from local waters. A one-inch layer of crushed coral is used as the substrate in exposed open areas, as I am not a big fan of the bare bottom appearance, although future plans may include removing the crushed coral once (and if) it becomes phosphate laden. Lighting
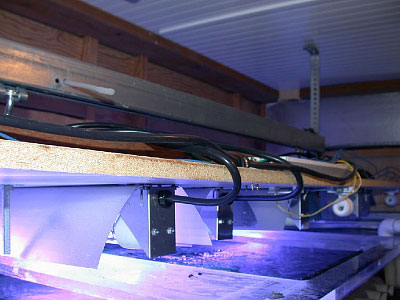
The lighting of the main display can be separated into two sections, each with a different lighting regime. The right portion of the tank is intentionally lit to accommodate the high light demanding corals (Acropora spp., Montipora spp., Porites spp.) and the back (or left) section of the "L" shape is moderately lit and houses LPS and a large leather coral. On the right section the lighting is attached to one-inch plywood connected to a barn door rail, which allows the entire lighting system to be moved out of the way to work in the main tank. The lights in this area are a mix of 10K Ushio and 20K Radium metal halides; there are four 10K HQI 250 watt bulbs and three 400 watt 20K Radium bulbs, all housed in SpiderLight™ reflectors. Additionally, I also have four 48" T-5 Aquastik blue fluorescents. The back section of the "L" has two 250 watt 10K Ushio bulbs mounted in Prism™ pendants containing four 38-watt actinic power compacts. Although the mangrove tank has a 100-watt grow light, I have never used it, as the mangroves seem to grow quite well without it. On the fragment grow-out tank there are two 175-watt Ushio bulbs that are run on a reverse daylight photoperiod, and this is done mainly for heat reasons. All of the lights are controlled by an Octopus 3000 controller with X-10 modules that turn them on in series from one side of the tank to the other and then turns them off in opposite fashion. The lighting schedule begins at 9:00am with the first two banks of T-5's, then progresses to turn on a metal halide bulb every fifteen minutes until all nine are on. The first metal halide bulb turns off at 8:00 pm and the lights then turn off in reverse order, finishing once again with the T-5's and power compacts. When the frag grow-out tank is stocked with corals, its lighting turns on after all the main tank lights are off. For moonlight, two 25 watt blue party bulbs have been placed on a "Caribbean type" photoperiod programmed by the Octopus controller, but lately this has been shut down to control the spawning events.
The rail system can be seen here above the reflectors.
Workroom
Located directly behind the tank are the workrooms which house the majority of the equipment needed to operate the system. The rooms are heavily vented with three exhaust fans to pull out the excess heat and humidity. The main workroom is approximately 10' x 10' but there is also another room directly behind the tank that is about 7' x 8'. The walls of the rooms were built out of marine grade plywood and coated with a shiny laminate; all of the joints and fasteners were caulked to prevent moisture penetration. The room contains a large, janitor style sink and a 100 gpd ro/di unit. To keep the light from entering the main tank at night, there is a pull-down blind that shields the frag/mangrove tanks from the main system.
Supplemental Additions A Deltec 1000 calcium reactor supplies most of the calcium and carbonate the tank requires. I have to give kudos to this unit as the amount of calcium and carbonate it produces is truly unreal. This is the best unit I have ever seen or used.
The Deltec calcium reactor is seen here on the right along
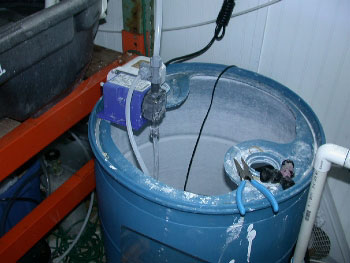
with the ETSS skimmer on the left. The calcium reactor is run only when the lights of the tank are on, but when the main display lights go off, an analytical grade calcium oxide kalkwasser from Warner Marine is dosed. The kalkwasser is mixed-up weekly in a 55-gallon drum and then delivered to the tank using a metered pump. Beyond this, no further supplements are added unless testing shows a lower level of magnesium, in which case I dose accordingly.
The kalkwasser tub with the dosing pump mounted on the top
left rim.
Husbandry/Maintenance Surprisingly, there is not as much maintenance to this tank as one may think. The skimmer is adjusted to pull out a wet skimmate (about 5 gallons every two weeks) so this must be emptied, but I only have to clean out the skimmer itself once every two weeks. The glass is cleaned of coralline algae every weekend. Luckily, I don't get any slime algae on the tank face; the tank is pretty much devoid of algae with the exception of coralline. Initially, the maintenance routine included out vacuuming the crushed coral substrate once a month, but I found that the accumulation of detritus is very low, so this chore is now performed once every two months. Also, as mentioned earlier, a new batch of kalkwasser is created on a weekly basis. With the processing capabilities of the equipment and the extensive filtration built into the system, I do not perform any water changes. So, on this tank there have been no water changes in 11 months and on the prior 300-gallon tank there was none done for the two-year period it was in operation. However, I must say that I do not recommend this to many hobbyists, unless they have the ability to process the water as this system does. Beyond occasional testing of water parameters, this is about all the maintenance I do on the tank. Feeding I make my own food for the tank and feed daily. It's a simple mixture of shrimp, clams, cod, scallops and nori, with Selcon™ added and then blended together to create a variety of different sized particles. By feeding in this manner nearly all the organisms in the system are fed at once. There are, however, a couple of non-photosynthetic gorgonians that are target fed a small amount of phytoplankton.
Top-off System Top-off water is provided by an Oceanus four-stage ro/di unit, containing an additional carbon canister; the unit produces approximately 100 gallons per day. Attached to this filter is a permeate pump, which allows up to 85% of the wastewater to be saved by recycling pressurized wastewater back through the reverse osmosis membrane. The output of the RO/DI system is plumbed into the sump using a Kent float valve that turns the system on and off as needed. The system typically evaporates anywhere from 3-5 gallons per day.
Temperature Control The system doesn't have too much need for heat, as you can imagine with so many lights in use, but there is an 1800-watt bayonette style heater and two 300-watt Ebo-Jager heaters for redundancy as an added precaution. A ¾ hp CustomSeaLife chiller, set up in its own area located outside, is used to cool the tank. System Control The system is controlled by an Aquadyne Octopus 3000, which controls most functions of the tank's operation, including such things as simple timing routines for the lights, to fail-safe setups through the monitoring and controlling of the calcium reactor, kalk doser, skimmer and so on. Also connected to the tank are six normally-closed (NC) valves. With the size of this tank and the quantity of water that the entire system contains (mangrove tank/frag tank/skimmer/chiller), it's tough to build a sump large enough to accommodate drain down of the system during a power outage. To combat this, I use the NC valves so that when a power outage occurs they all close and prevent the water from draining into, and overflowing, the sump.
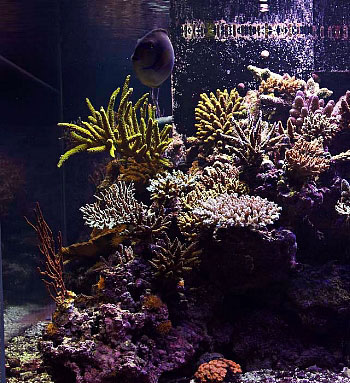
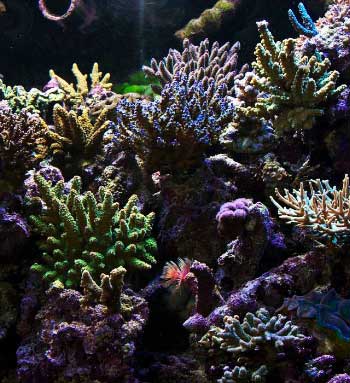
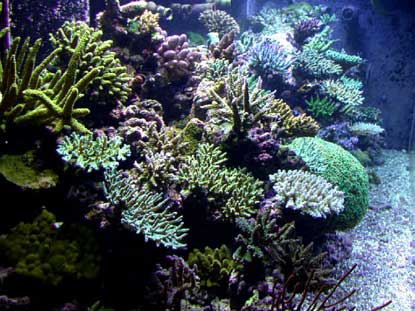
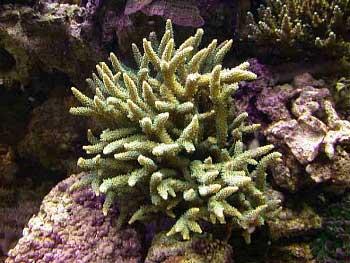
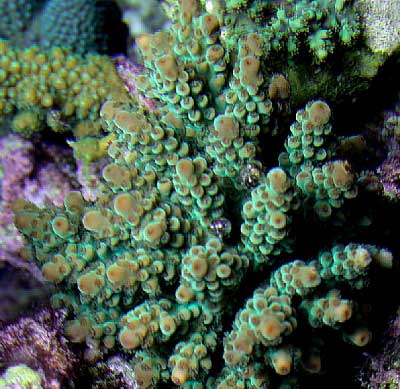
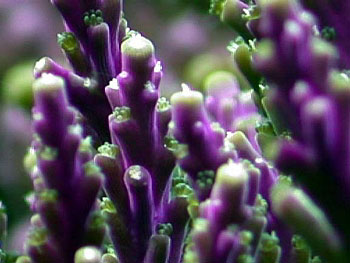
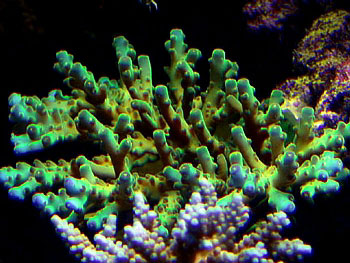
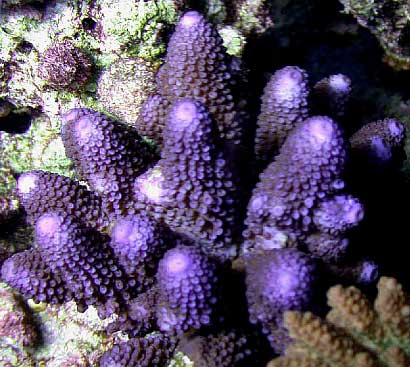
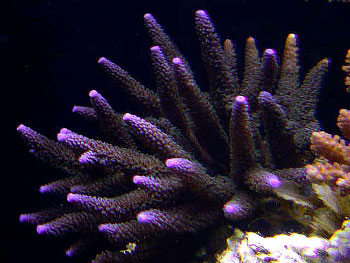
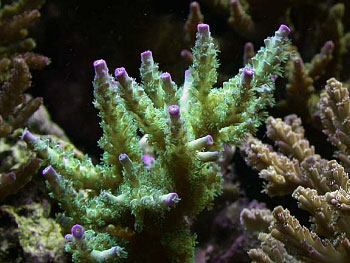
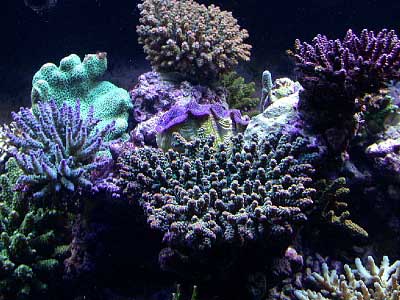
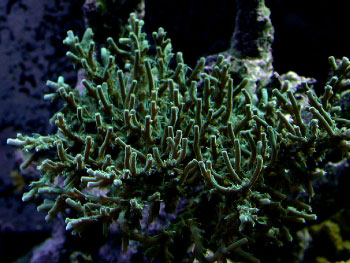
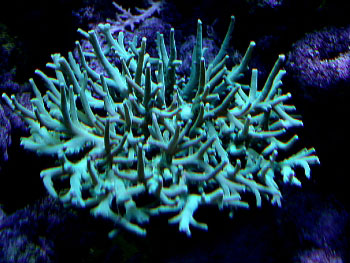
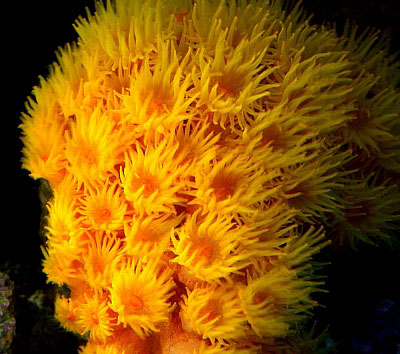
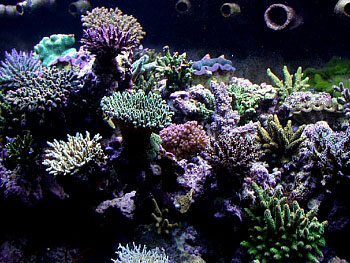
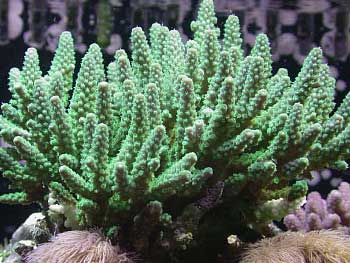
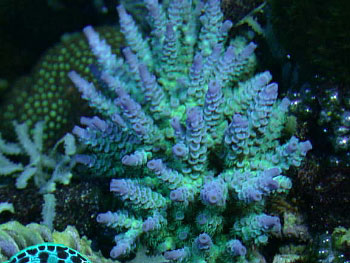
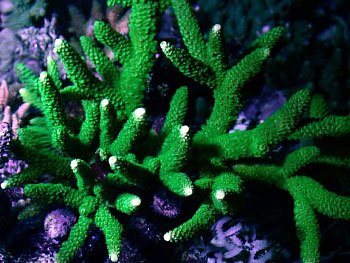
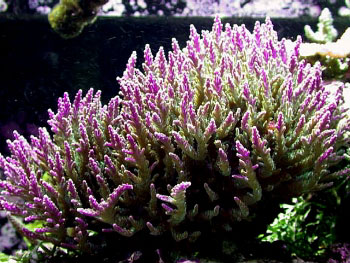
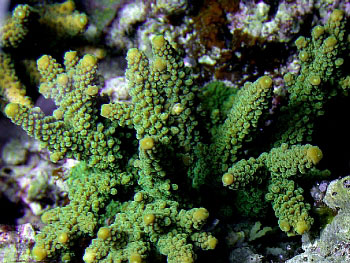
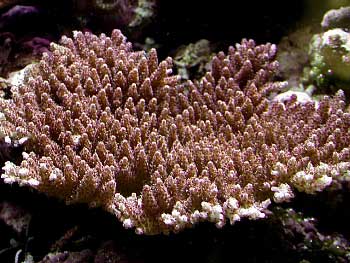
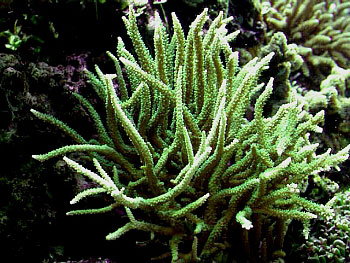
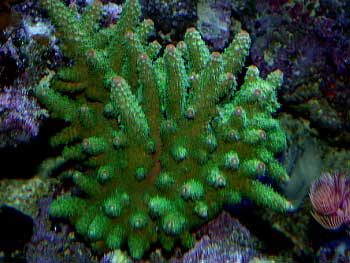
Corals There are about 80 SPS colonies in the tank, mostly Acropora, but also Pocillopora, Stylophora, Porites, Montipora spp. I also have a 23 head frogspawn that is about the size of a basketball, a large finger leather and a couple of torch corals. Additionally, there are some polyps, zoanthids and Tubastraea spp.
To learn more about Mike's system, visit his website by clicking on the image below:
Feel free to comment or ask questions about my tank in the forum for the online magazine. |


